The restoration.
This post is part of a series:
In part I, I presented my “Wheelbarrow of Stanley Bailey planes” story and documented my TradeMe finding. In part II, I will focus on the restoration process.
The plane bodies and the electrolysis rust removal process.
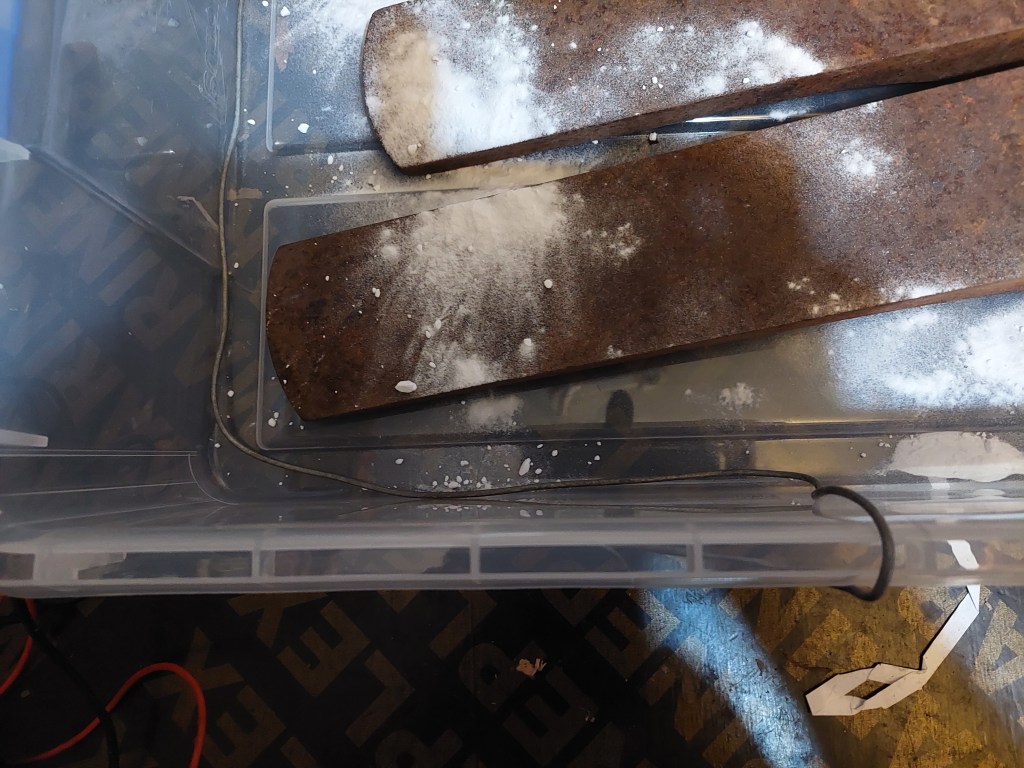
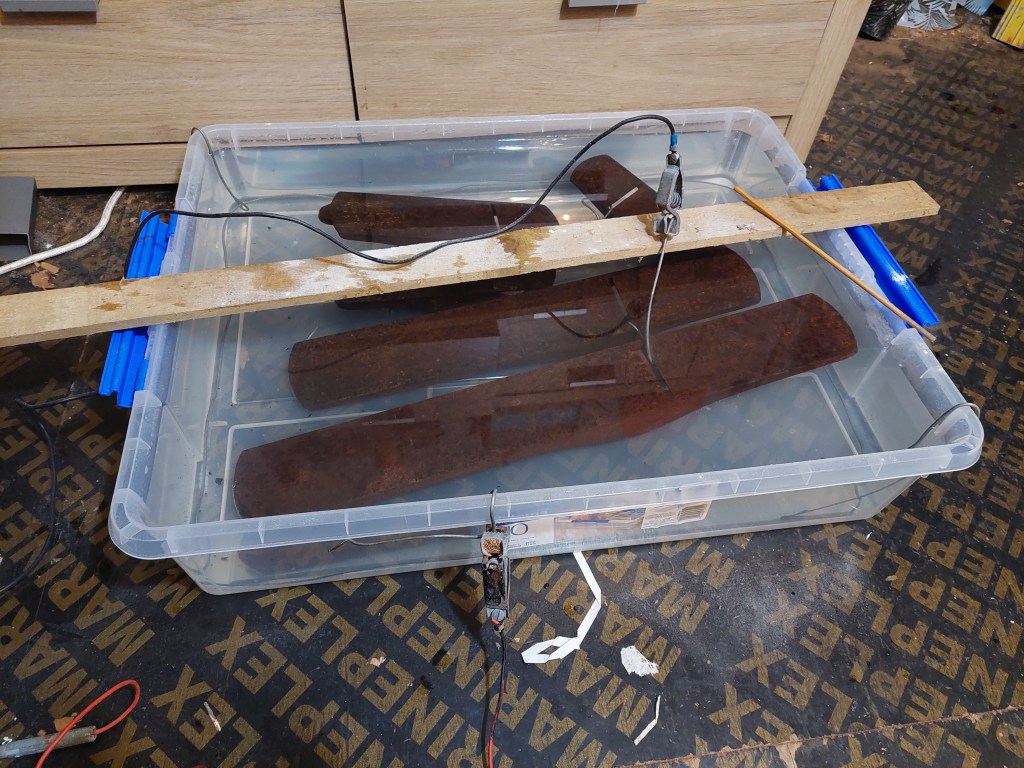
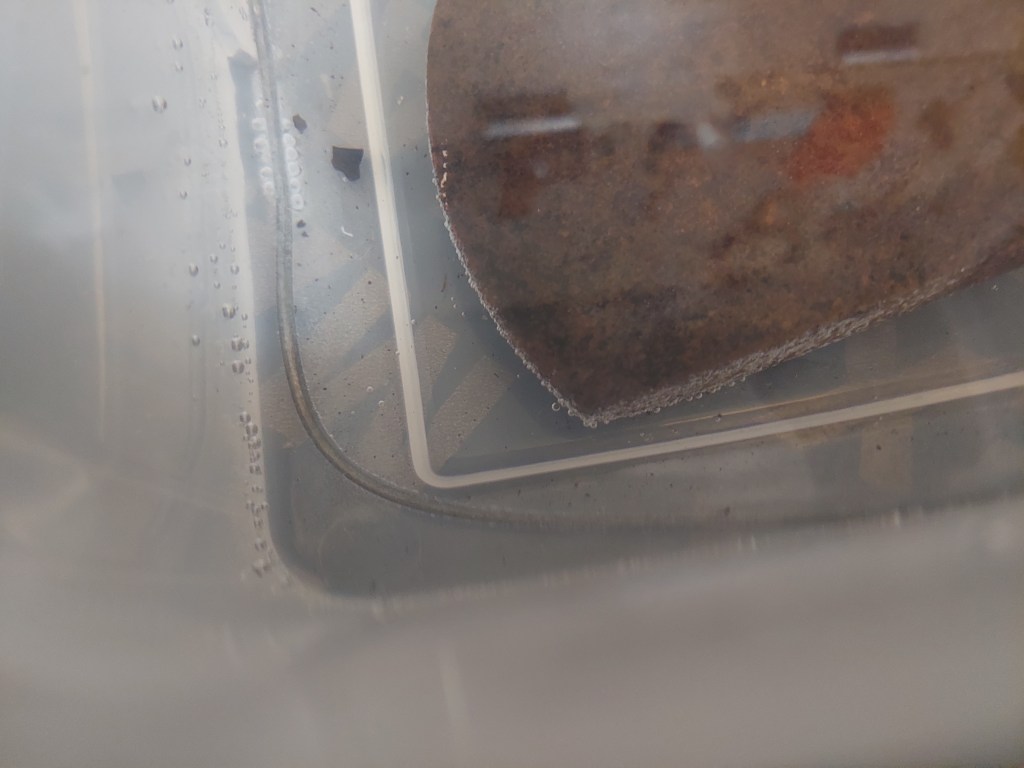
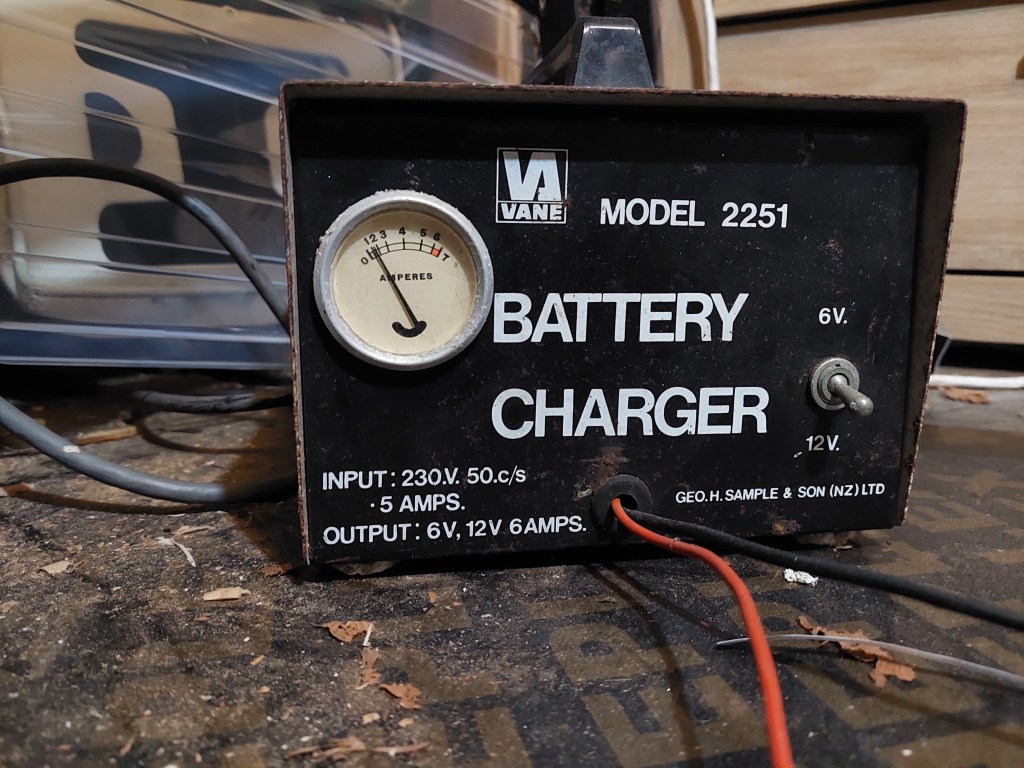
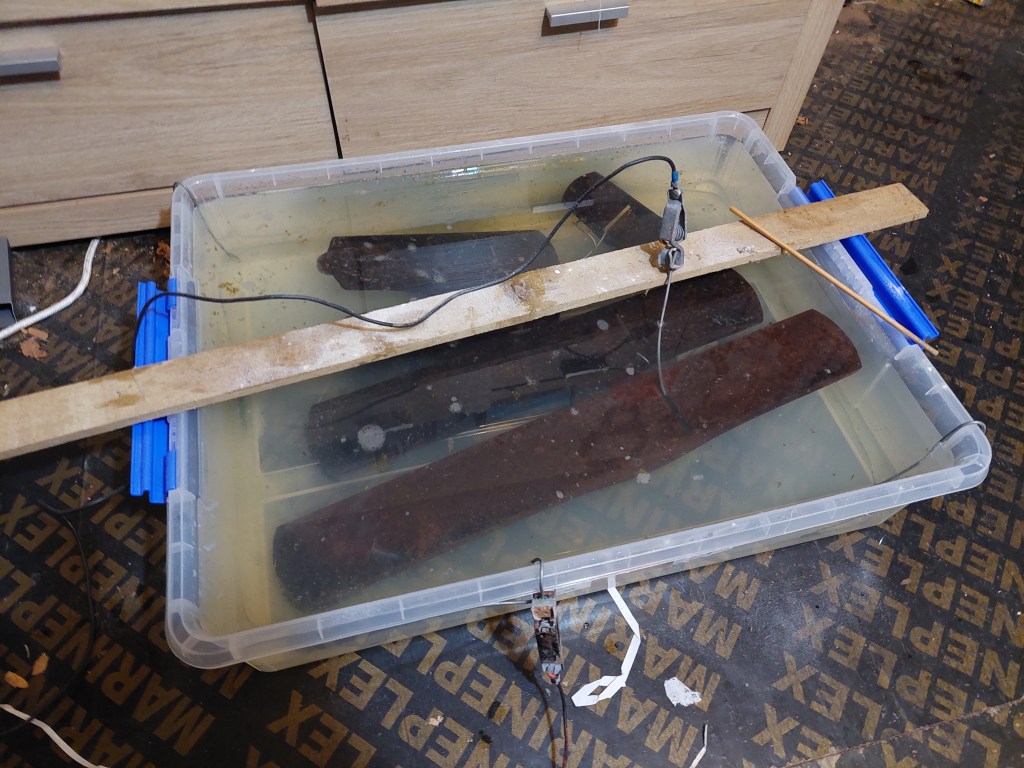
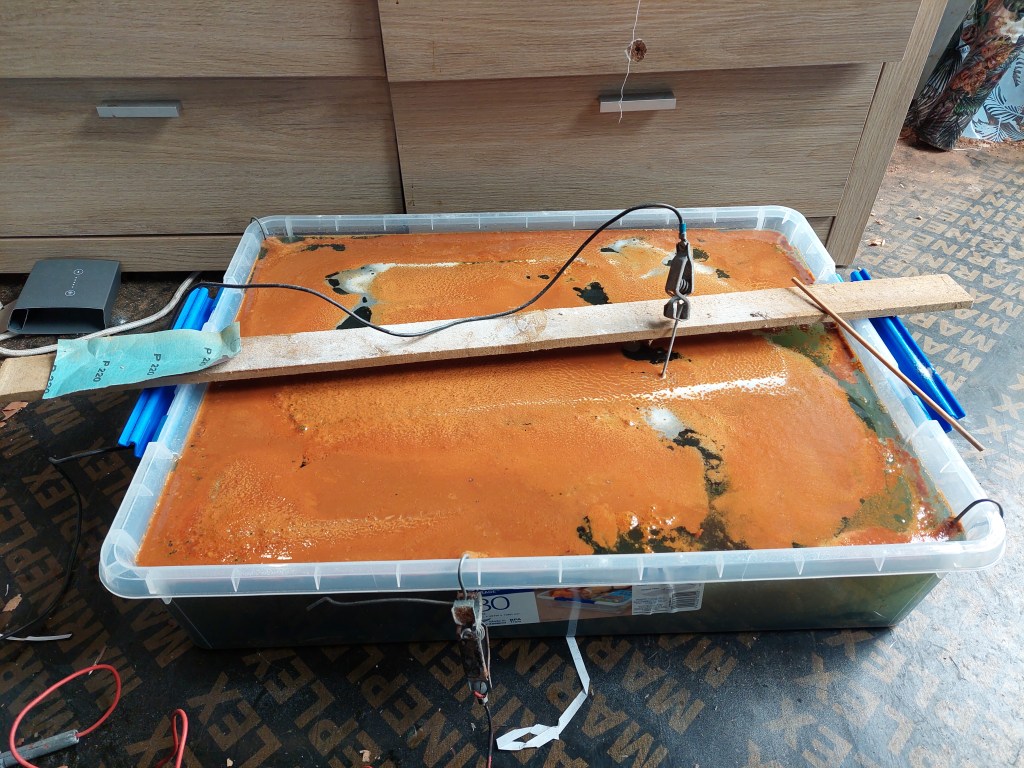
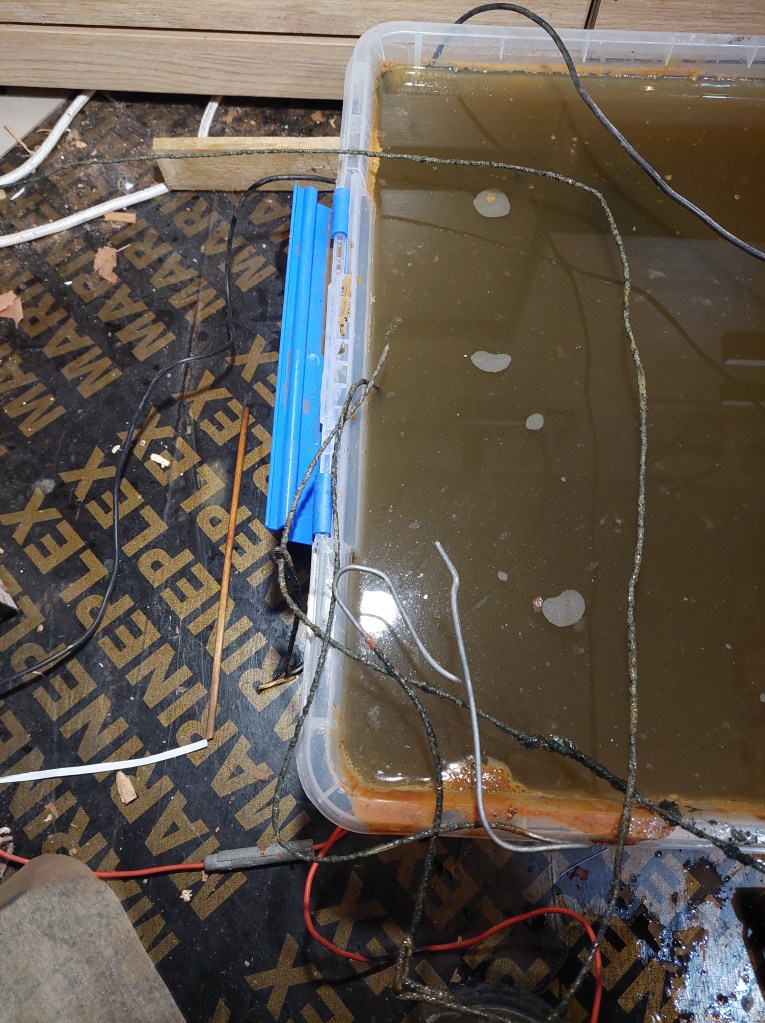
I had to buy a big enough container to fit all the planes. It’s a 30L tub, likely designed to fit under a bed. I make up a “frame” for the anode out of thick wire (likely “fence wire”). A quick search on the internet later, I’m told that I need 2.5 tablespoons of baking soda. I ended up emptying the soda container as it was almost empty. I think that used the equivalent of 5 tablespoons. I added the water with the garden hose and relatively quickly, I could see bubbles rising to the surface. Then rusty froth started to build up on the surface. After 24 hours, I removed most of it. This allowed me to monitor the process and see if it was still going.

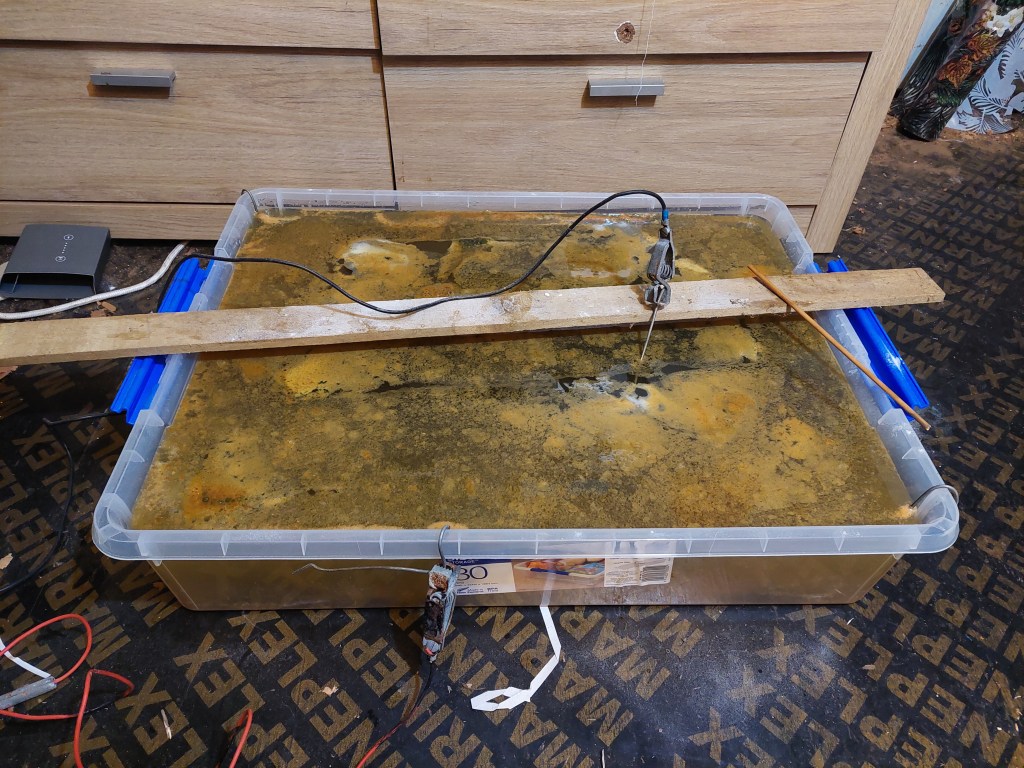
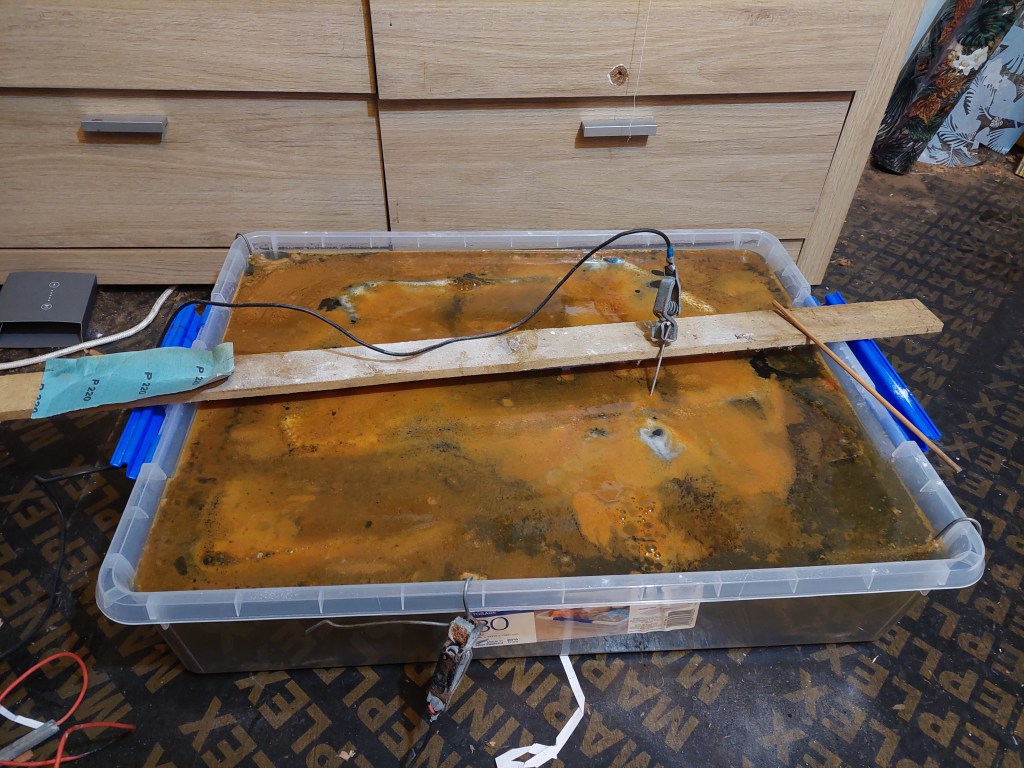
After 48 hours, I cleaned the froth again and observed.
Nothing.
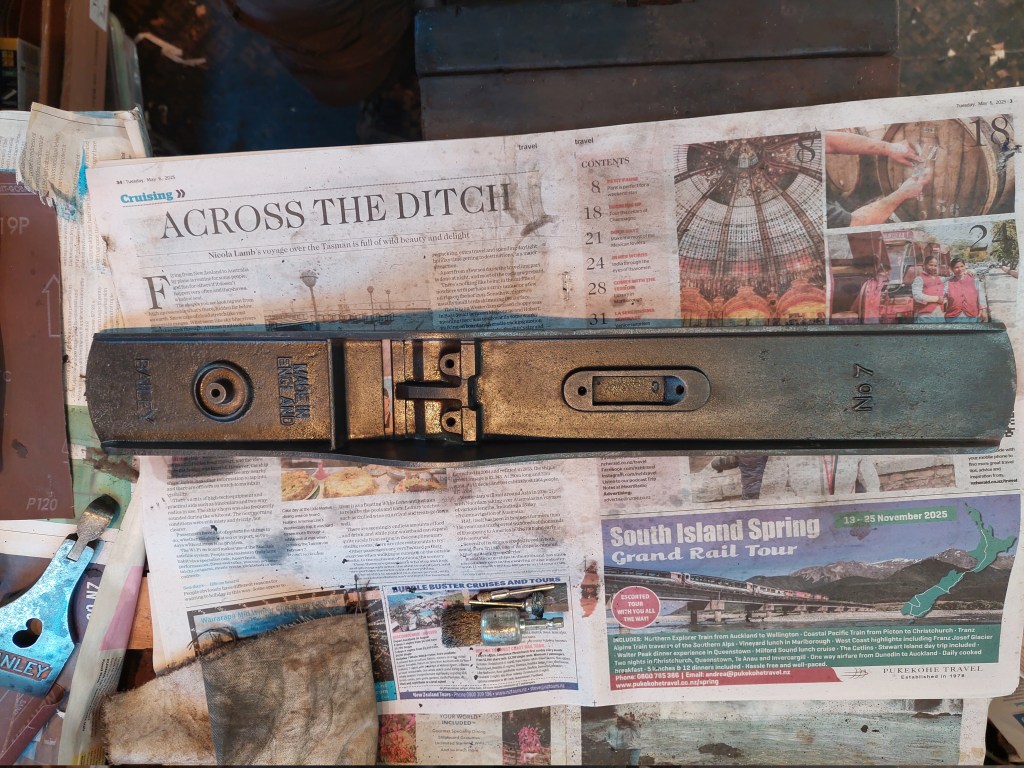
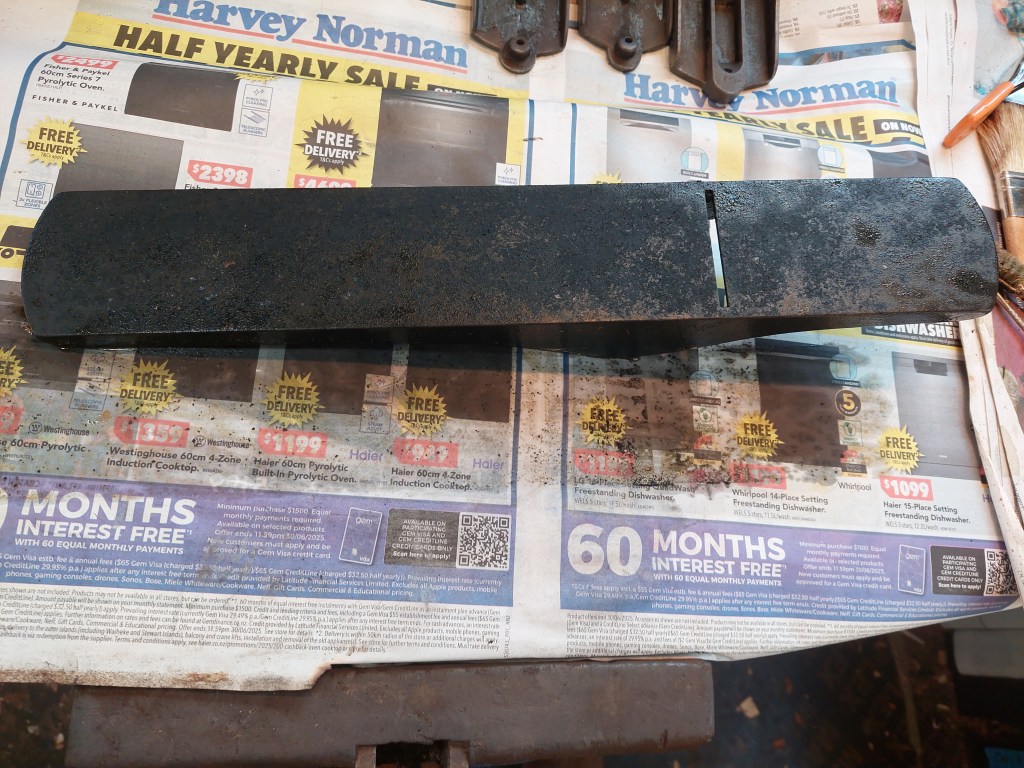
Thinking this was all finished, I start removing the first plane, the #7. The sole is black, which is good, but the side and the inside still have rust.
Something was not right.
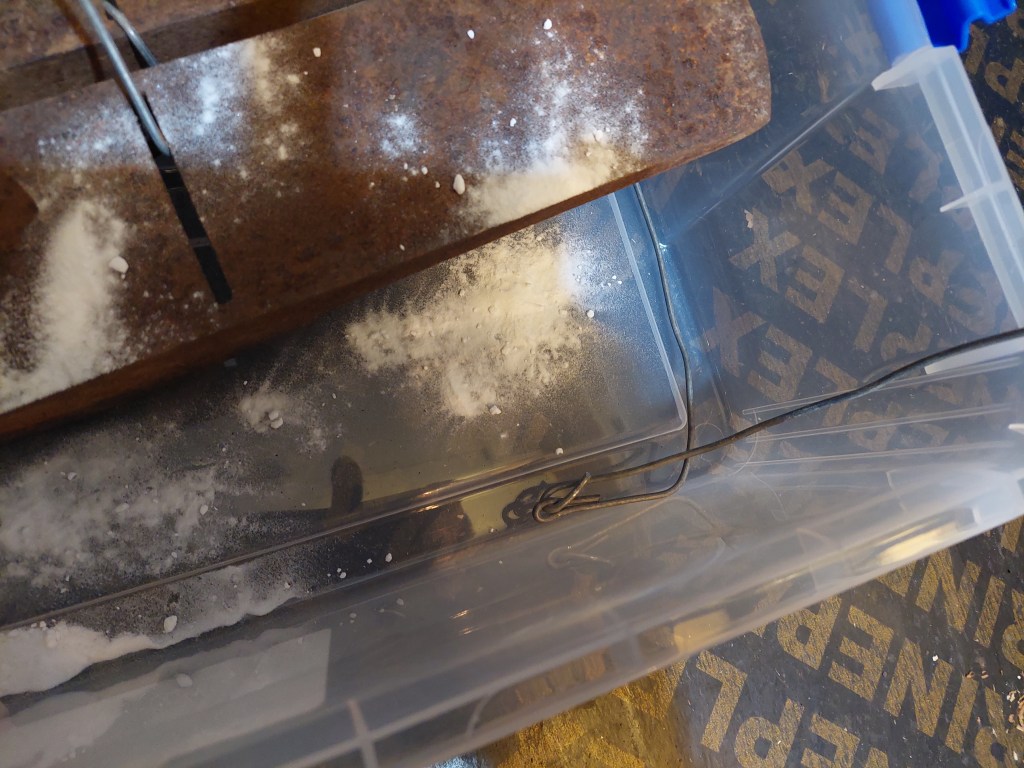
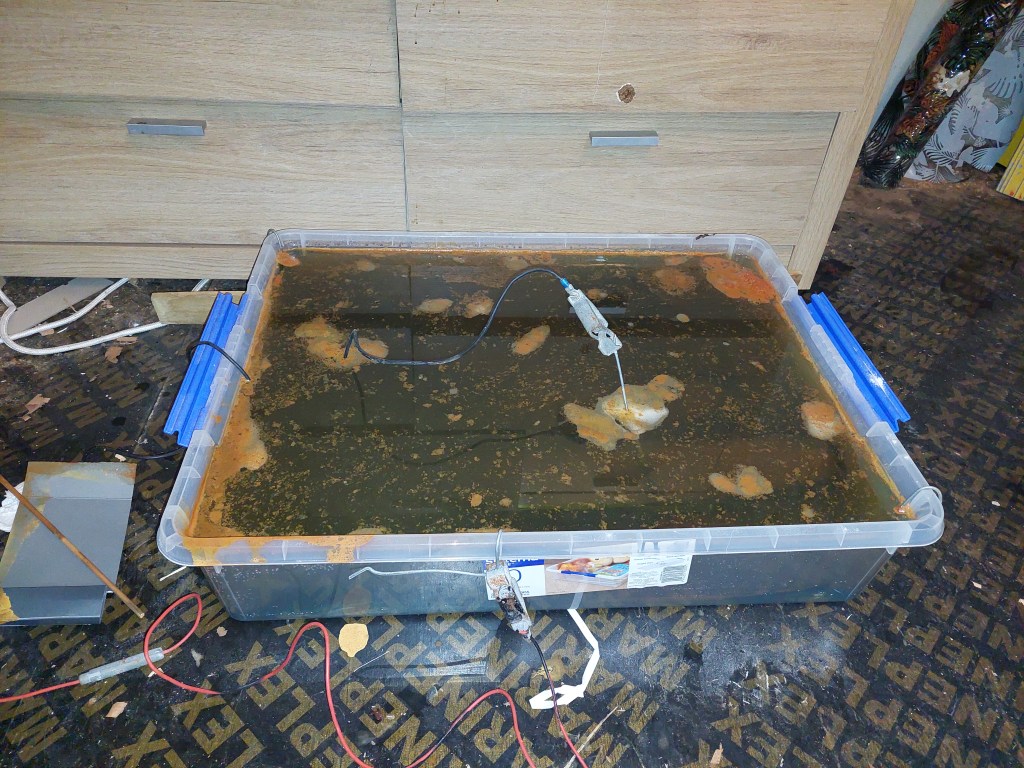
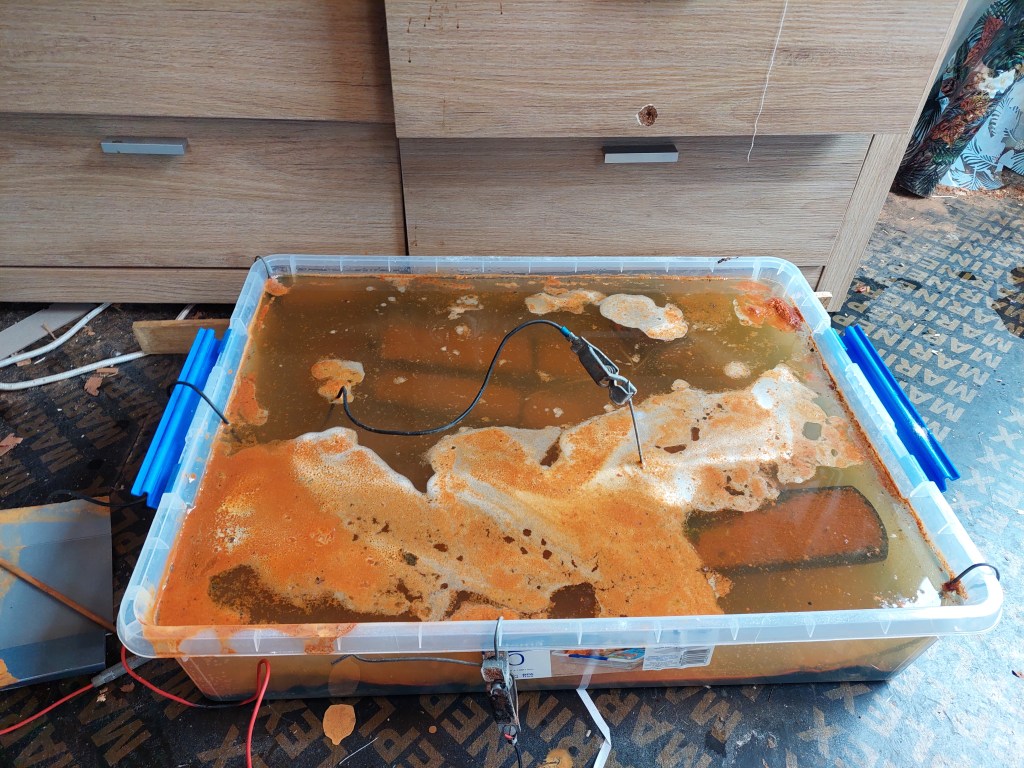
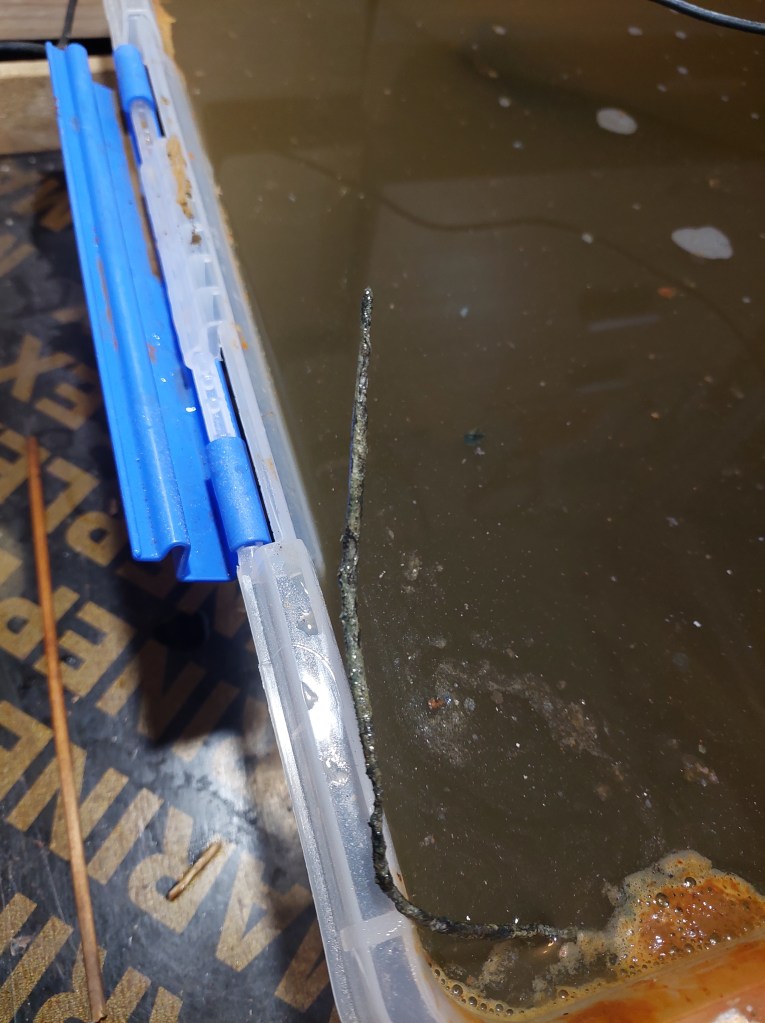
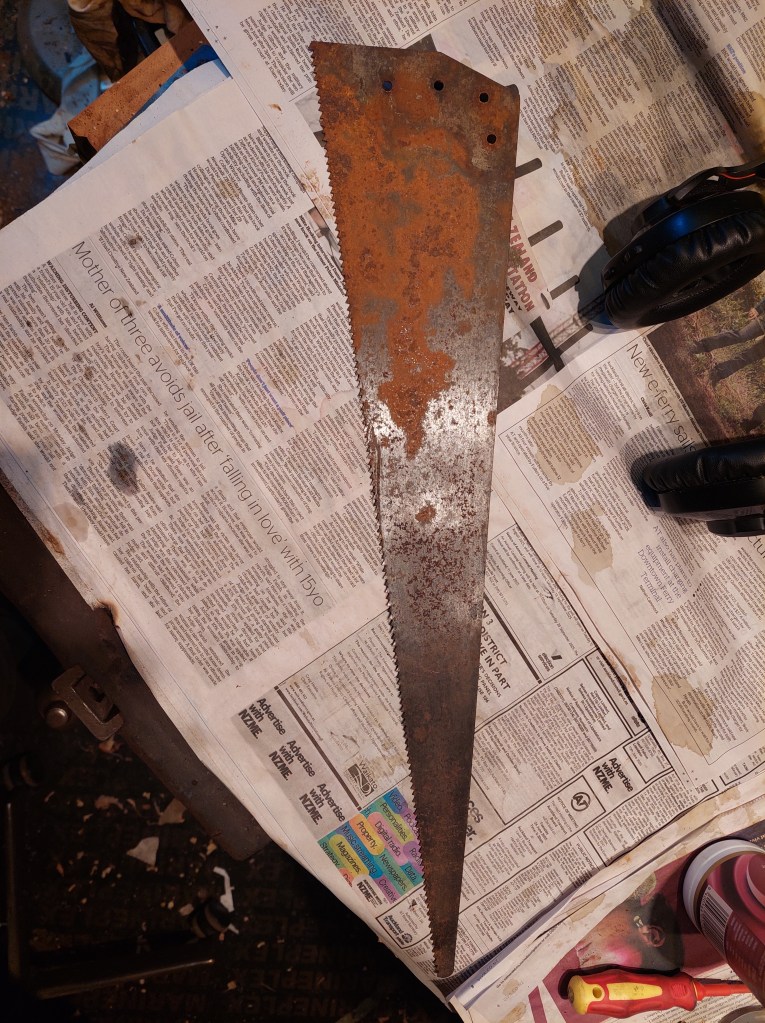
I twiddle my made-in-5-minutes jig and discover that the wire I used as the sacrificial anode was eaten away and broke into 4 parts (too soft and thin?). I measured the power consumption with an amp-meter and I got 300 mA. As I didn’t know the initial current, it doesn’t help me. I need a quick replacement – it’s real late. I end up using an end-of-life saw plate that I kept around “just in case”, and now the system consumes 750 mA and I can see the process restarting (bubbles generation).
In the morning, it was clear that only the #7 plane was still active. The other ones were ready for post treatment.
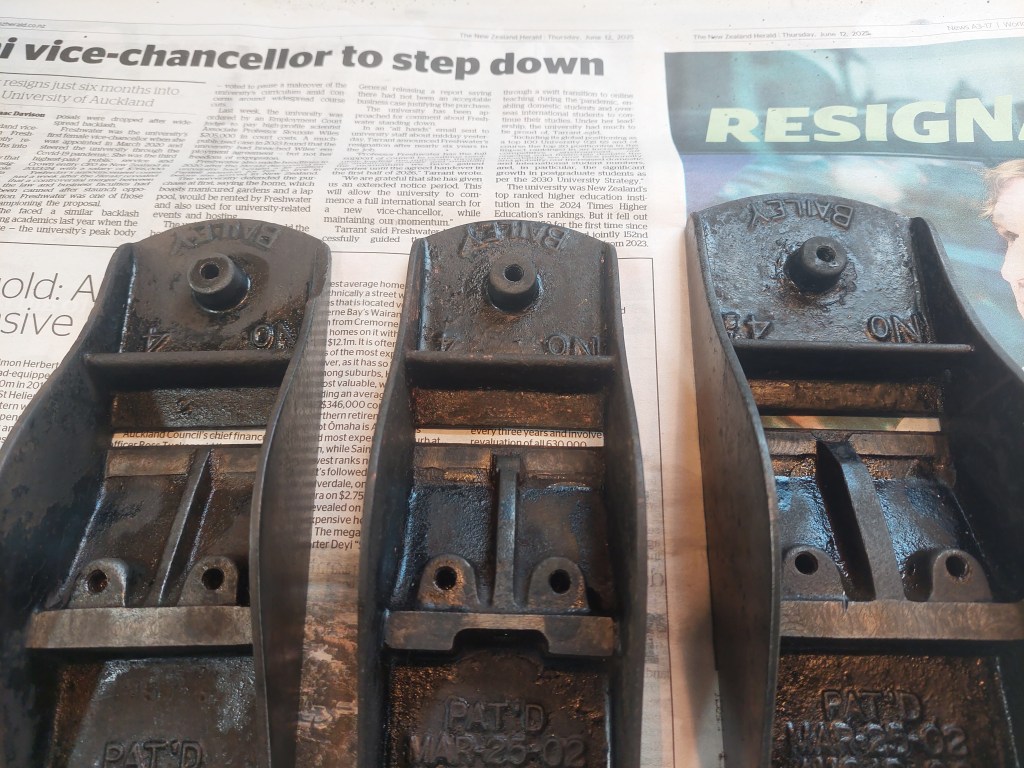
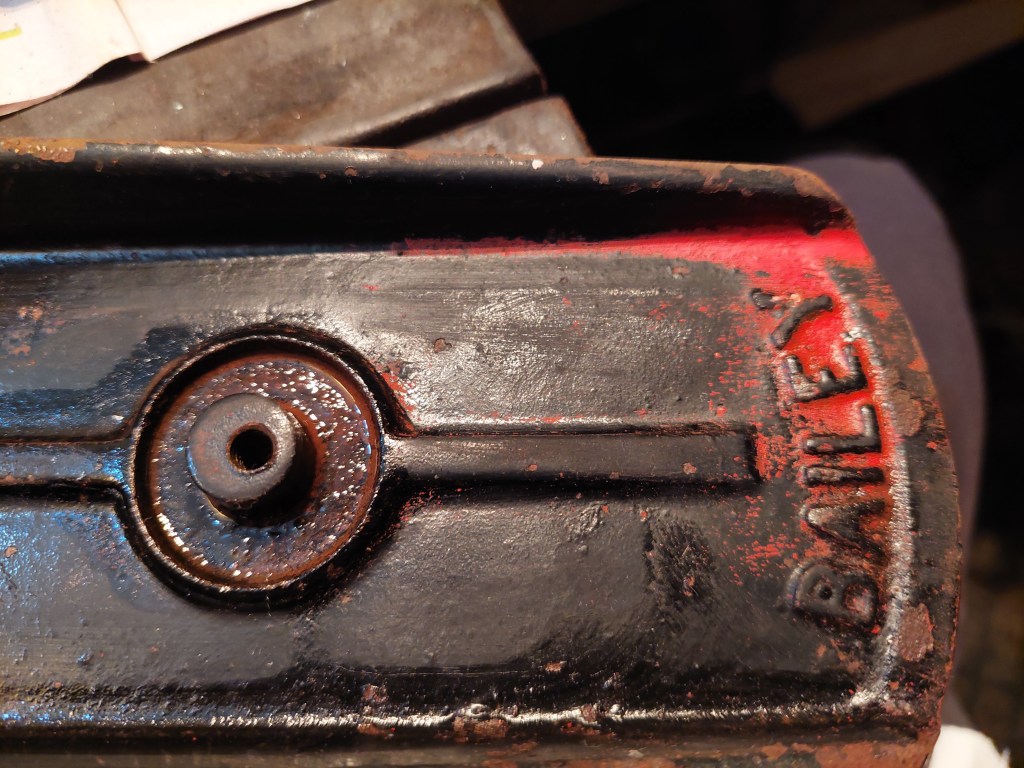
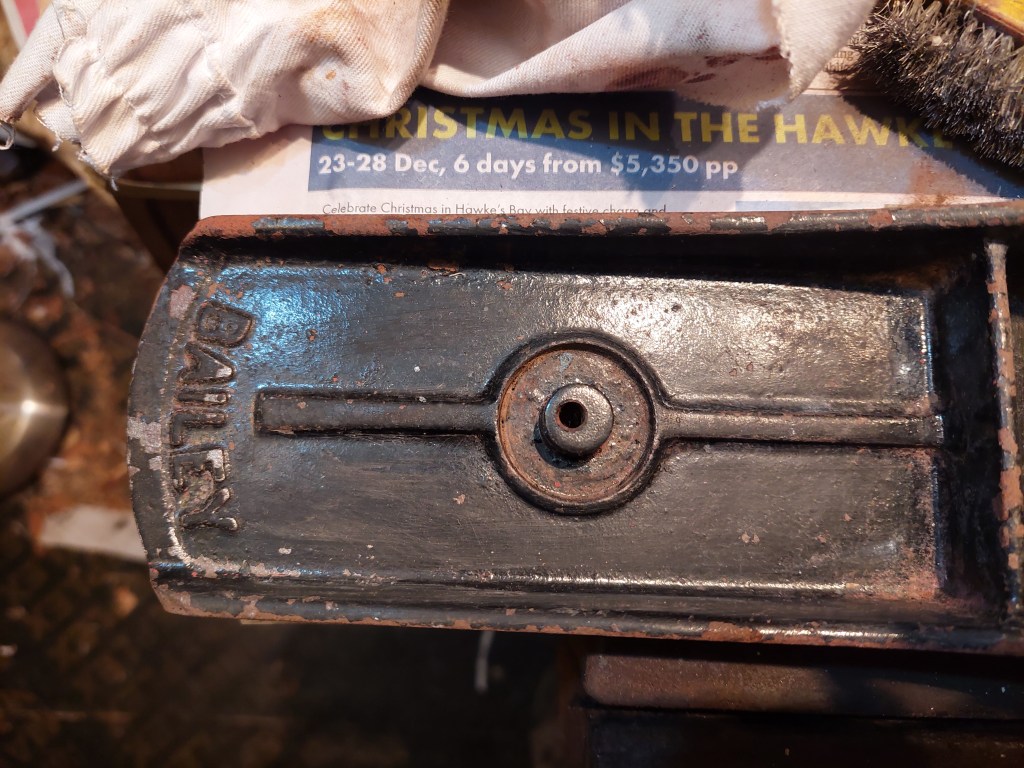
Here are the two #4 and the #4-1/2 out of the bath. They are all blacks,
which makes sense since we’re in New Zealand.
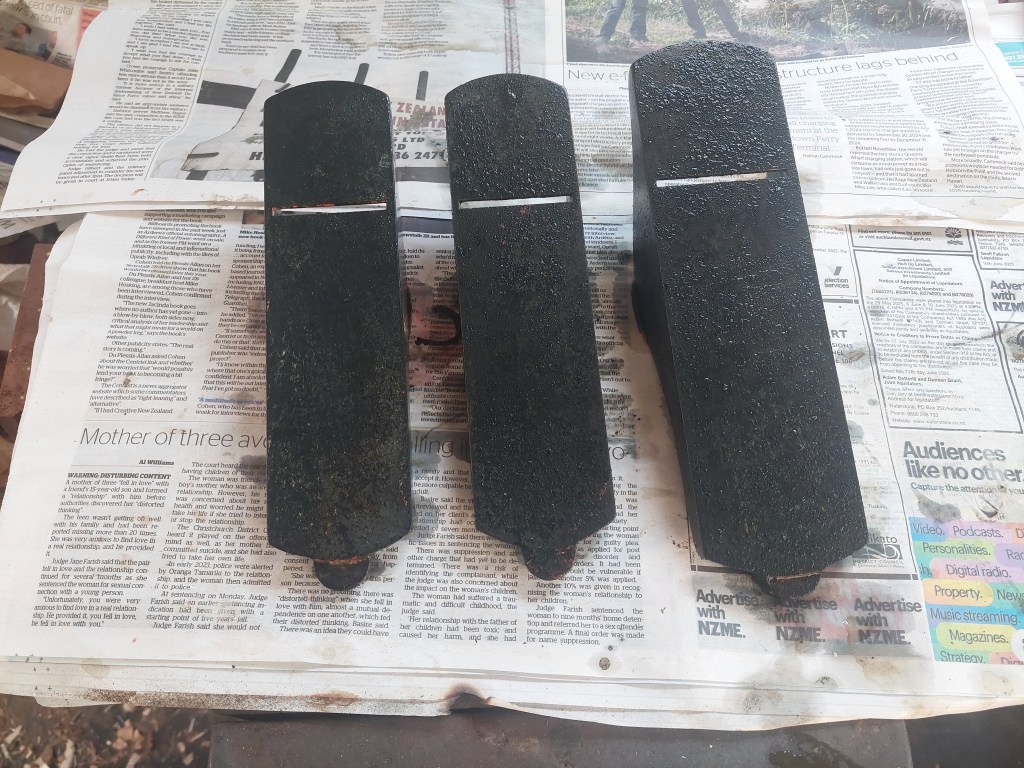
The planes were first rubbed with a cloth, then cleaned up with a wire wheel. The sole and the cheeks were sanded quickly with 220 grit sand paper, while the inside of the planes were cleaned with a tooth brush and methilated spirit. Finally they were all wiped with methylated spirit to remove any leftover and then received a generous anount of CRC-56/WD-40.
The final result looks pretty good given how rusty they were. The paint is almost gone, but since I didn’t use a hard brush, the metal stayed black, which IMO, make them look better.

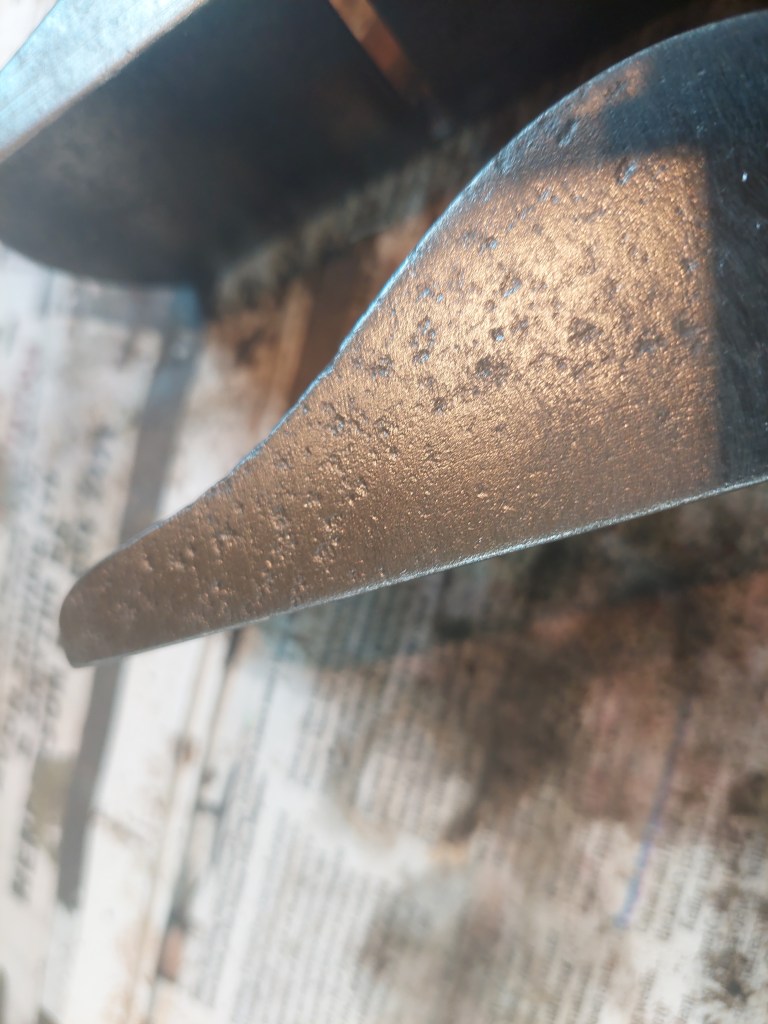
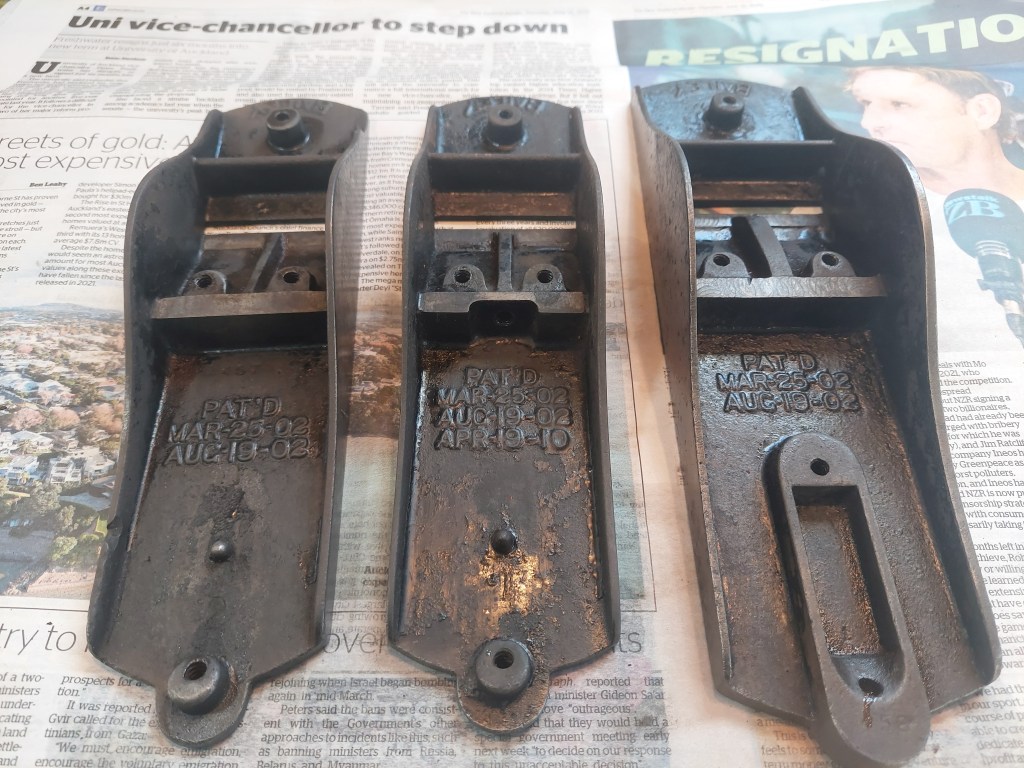
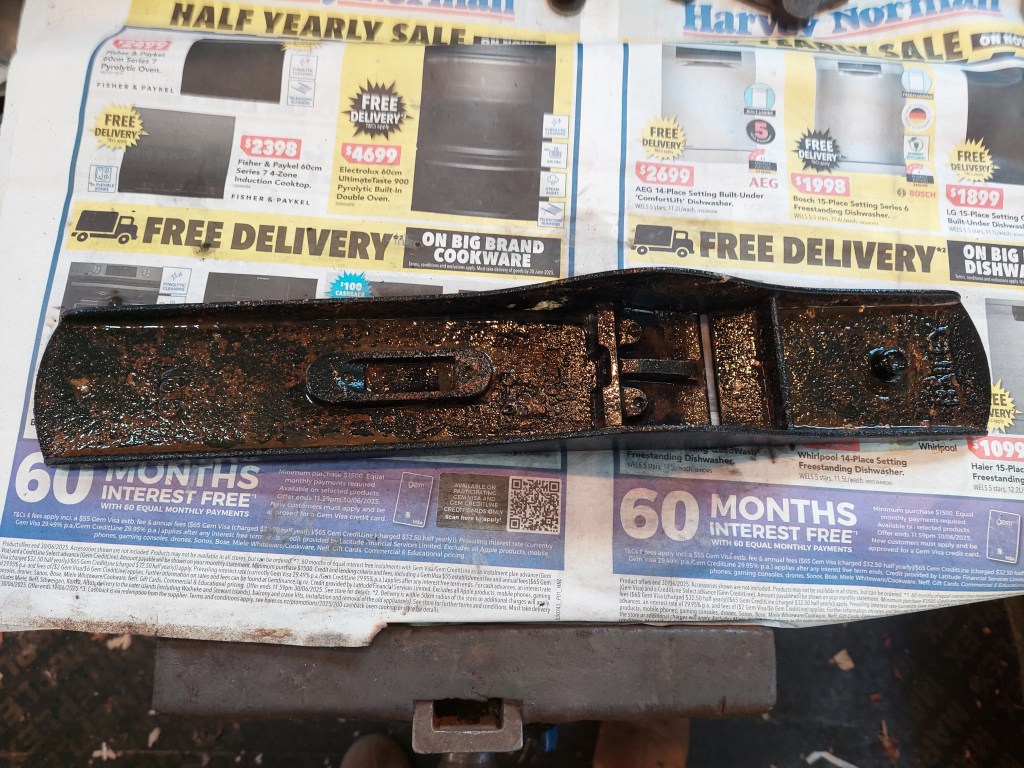
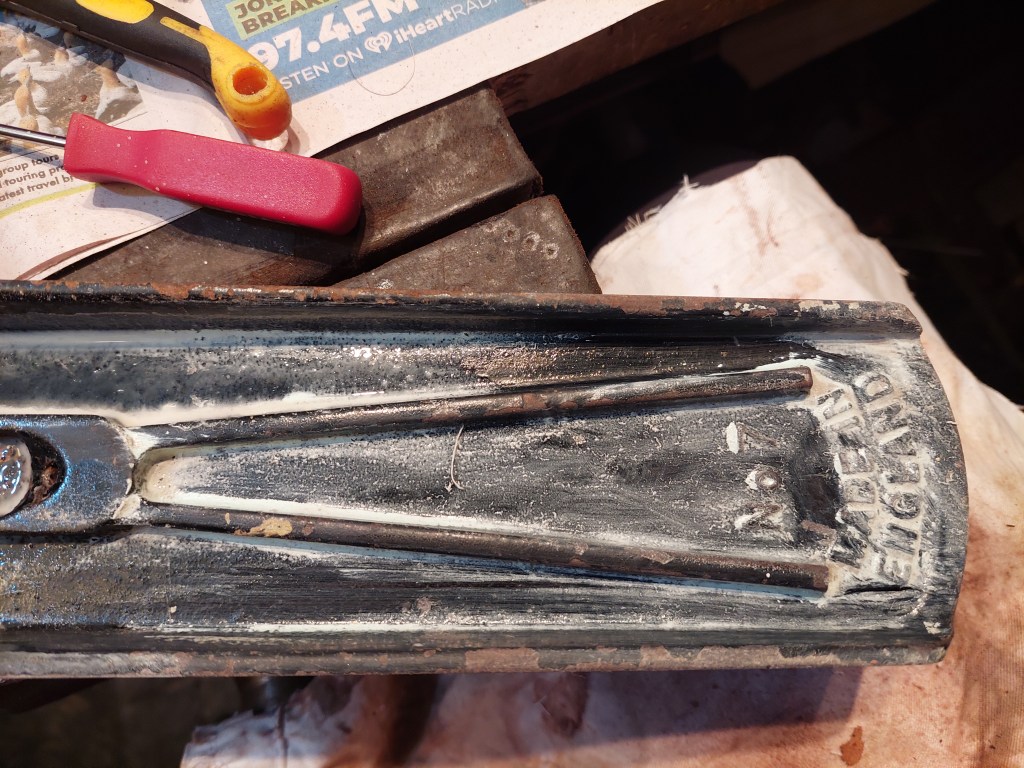
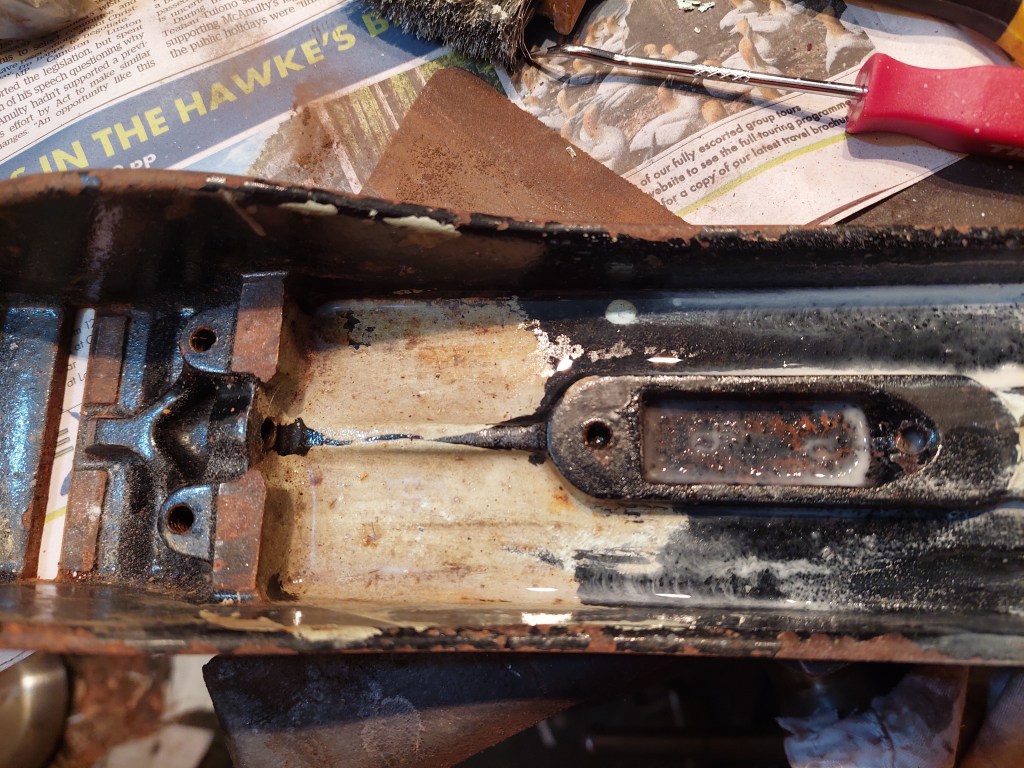
As you can see on photo No 3, one of this plane has deep scorches. Likely due to a previous heavy derusting. Photo No 5 shows the heaviest pitting, which is on the #4-1/2.
The #6 and #7 received the same treatment. For some reason, the #7 lost most of its paint and I decided to remove it all, which was an easy job. I might repaint it one of these days.


Overall, I’m very happy with the result. Electrolysis rust removal is really effective and gives very good results.
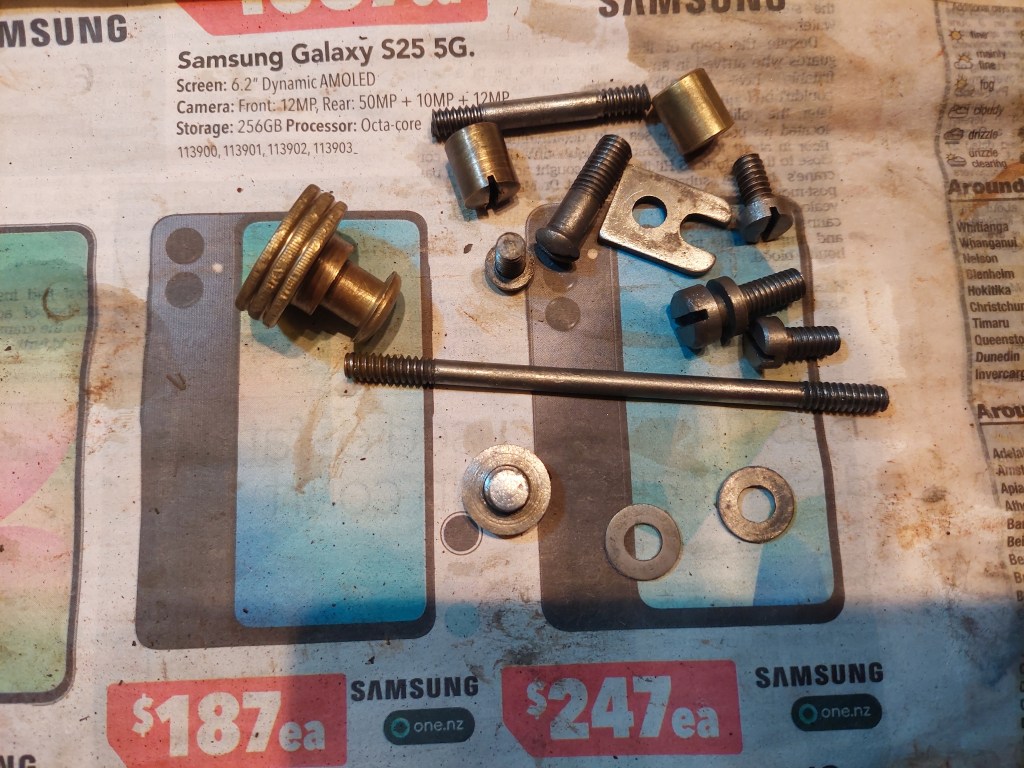
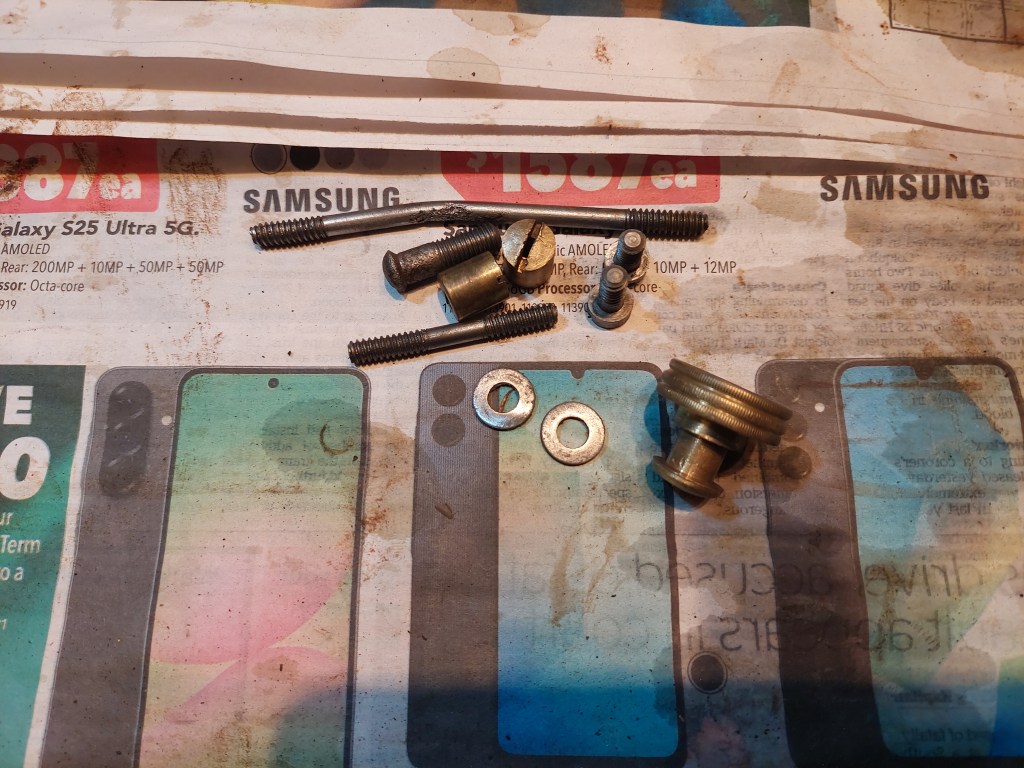
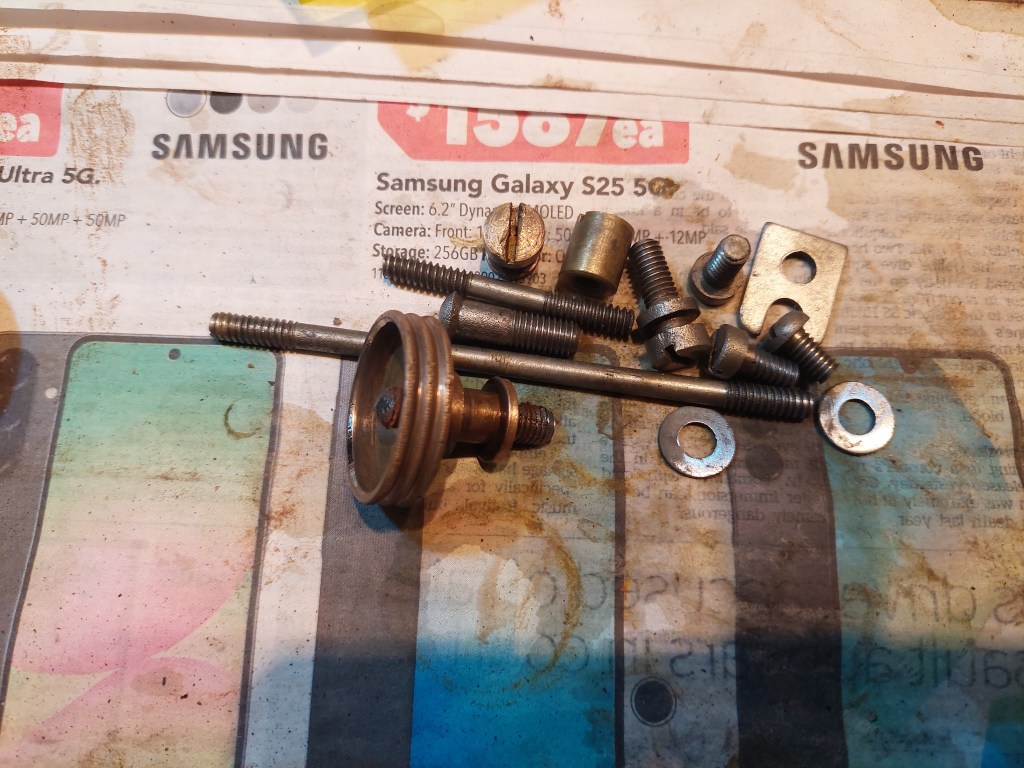
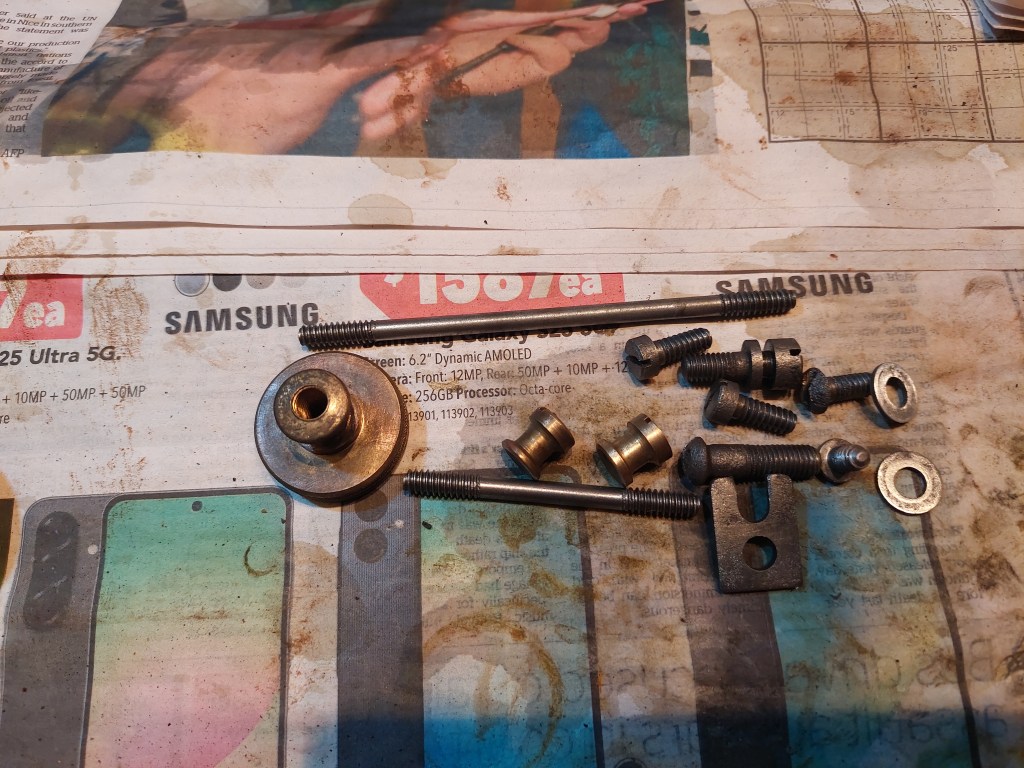
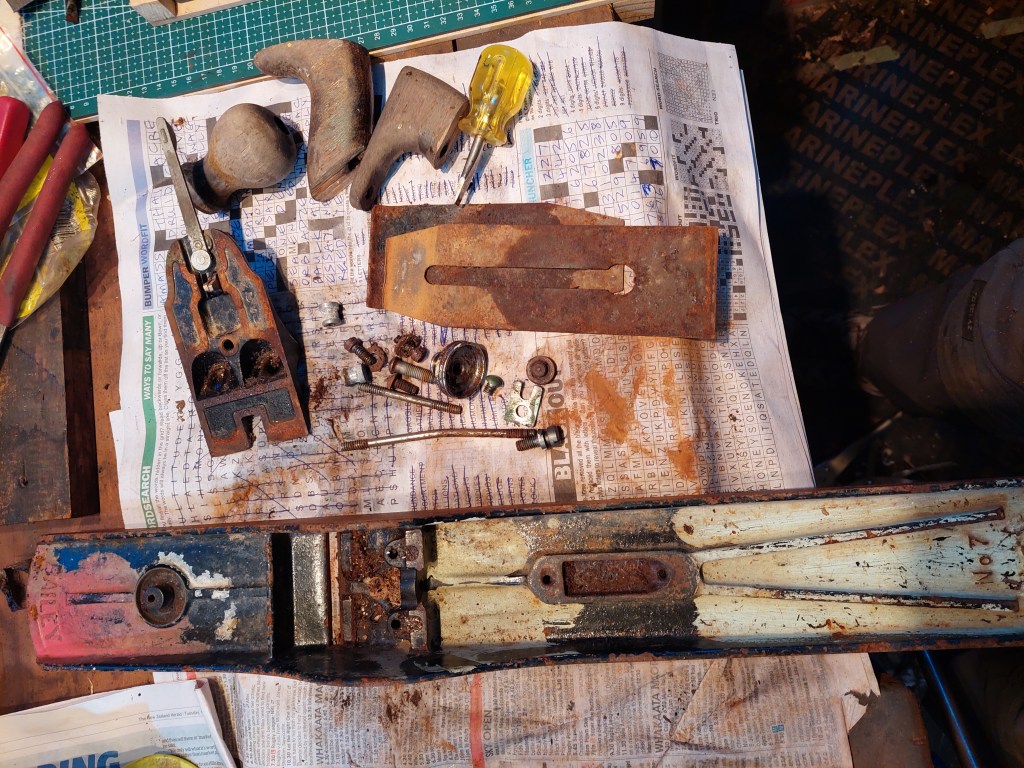
The hardware and Evaporust
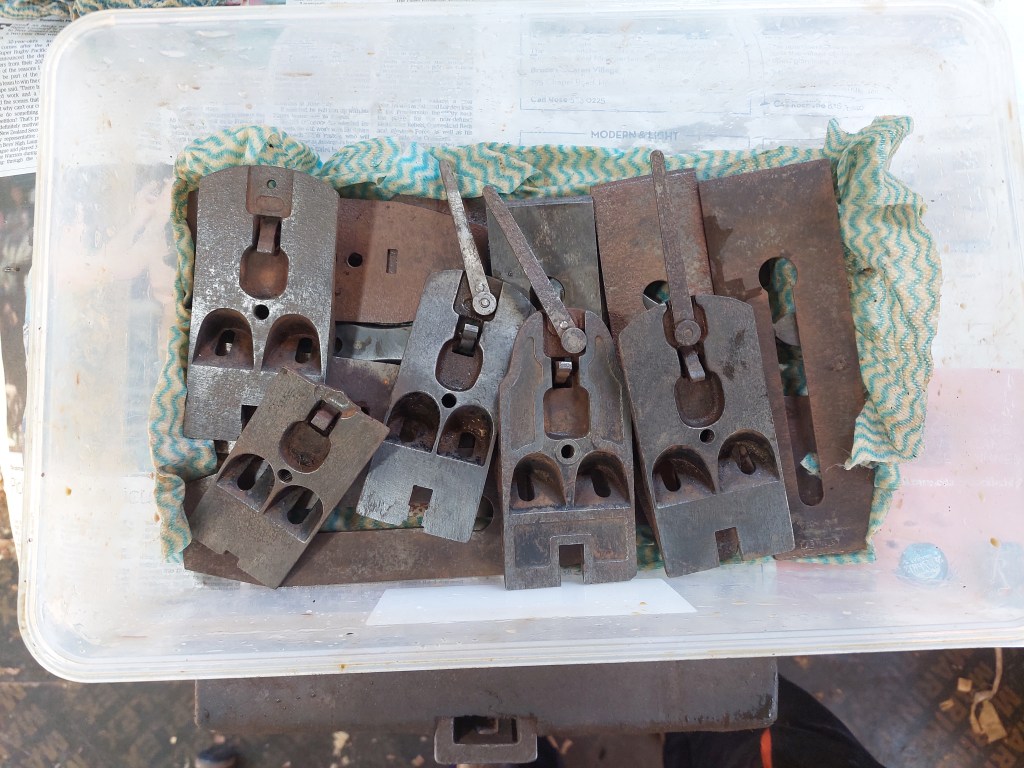
The hardware of each plane was kept in separate containers. They were filled with brand new Evaporust and left for 24 hours.
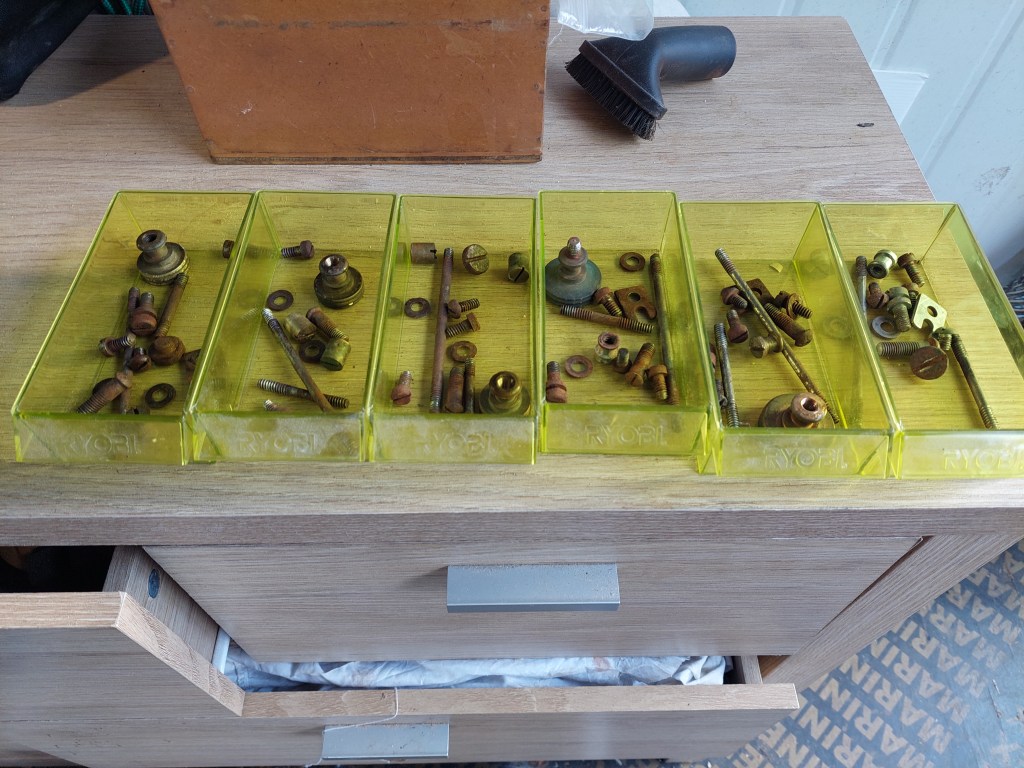
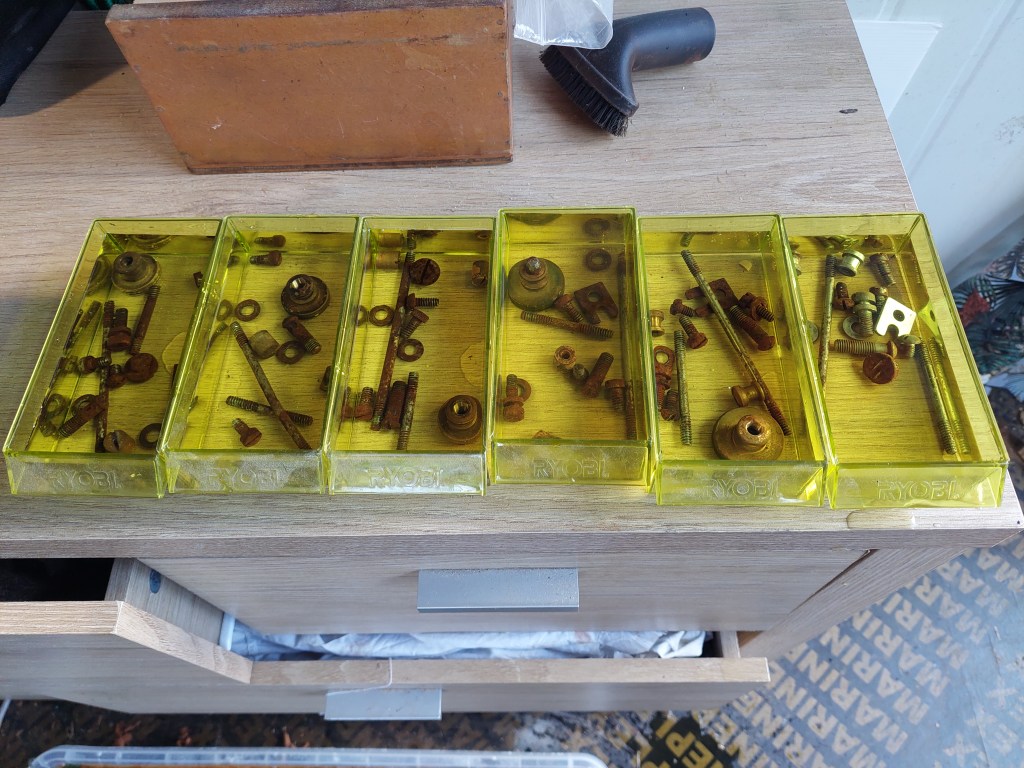
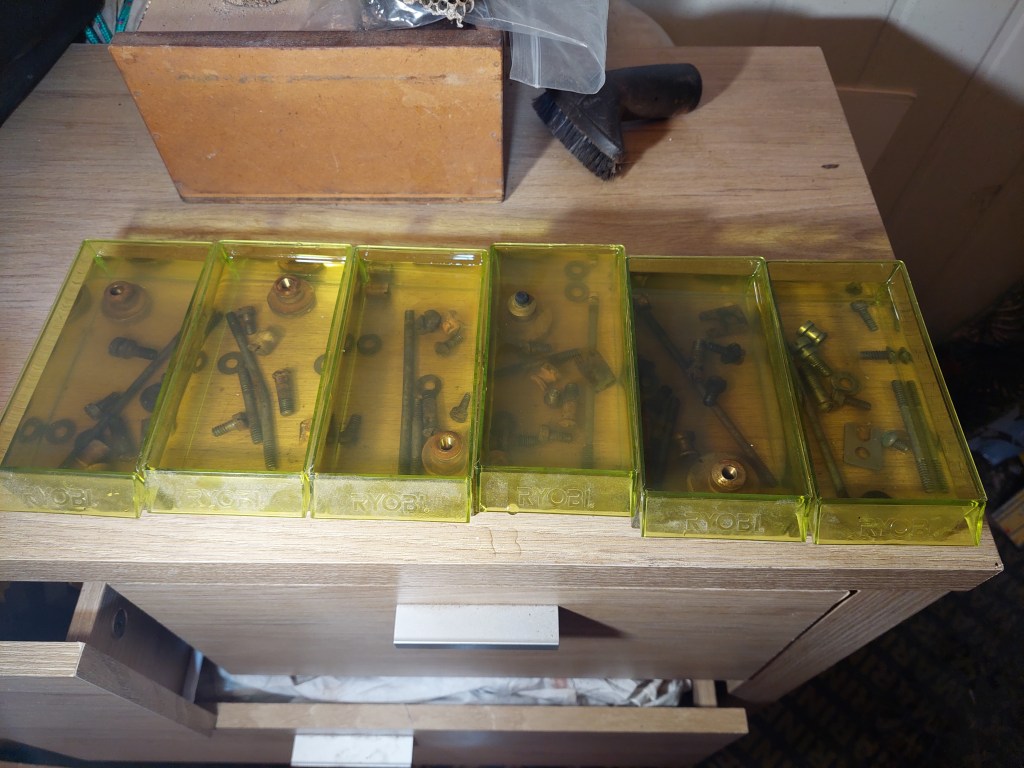
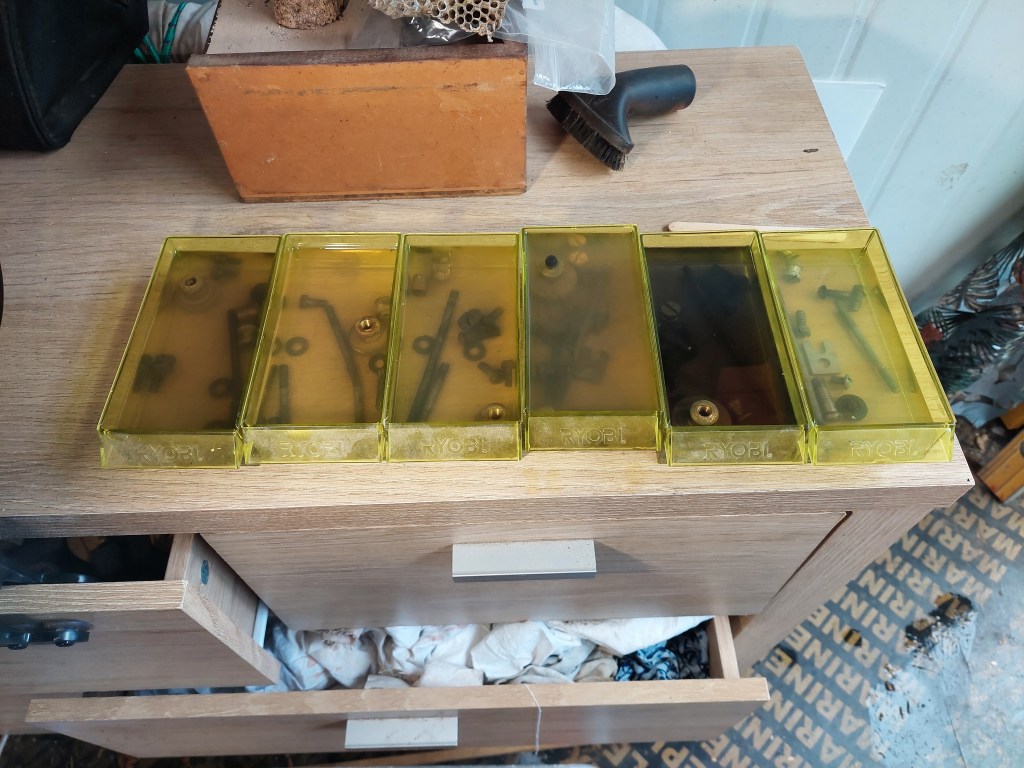
Notice the tray No. 5 on the right. It is very dark, meaning that a lot of rust was converted to magnetite (the dark stuff). This tray contains the hardware of the second #4 plane, which was the most water damaged.
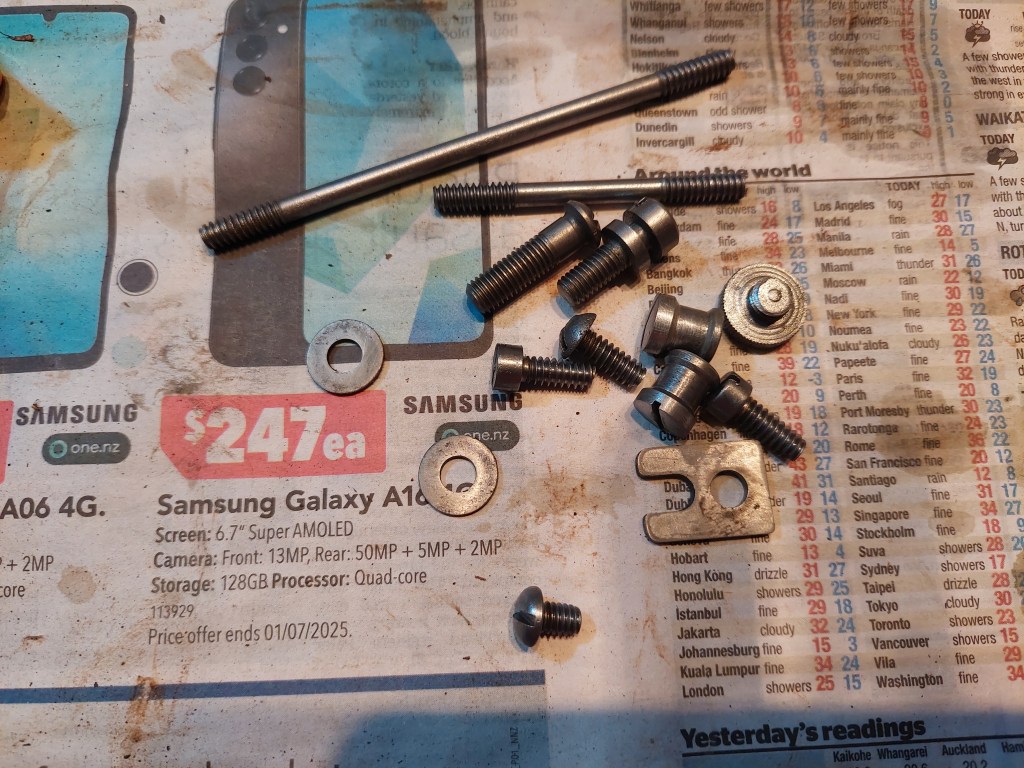
It took me a full hour to clean all these parts with a wire wheel. The end result looks good. Some parts have pitting, and I couldn’t pull apart the adjusting knob and its mating screw (tray No. 4, with a weird milky color). They surely love each other so much that they can’t separate! :~)

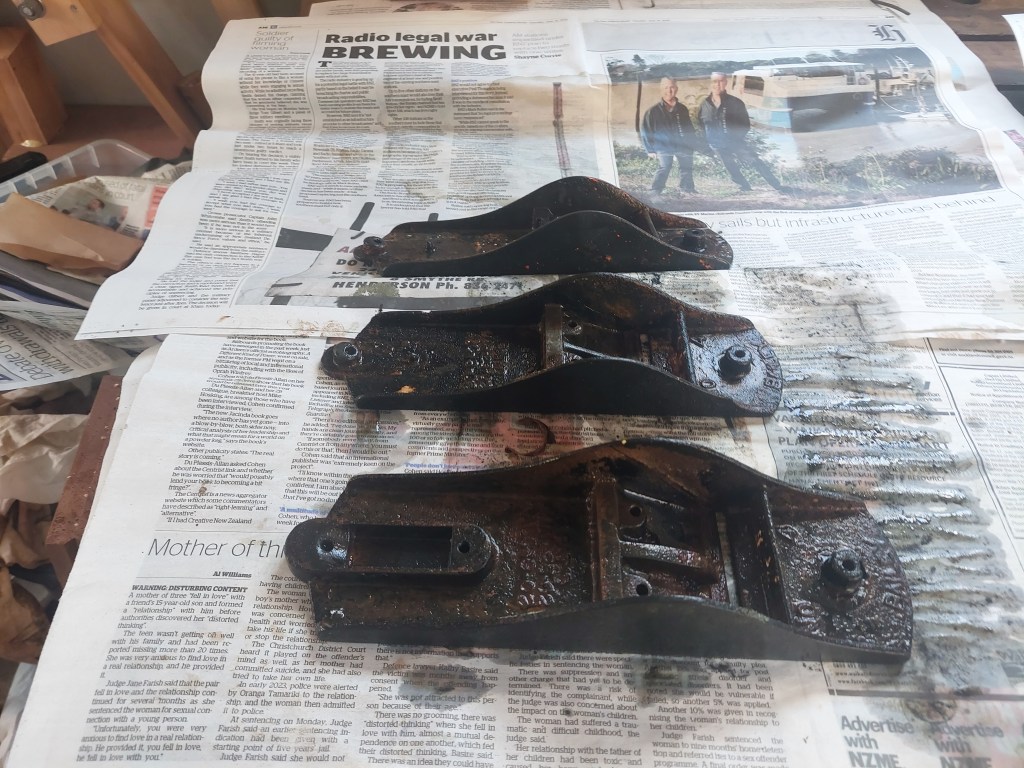
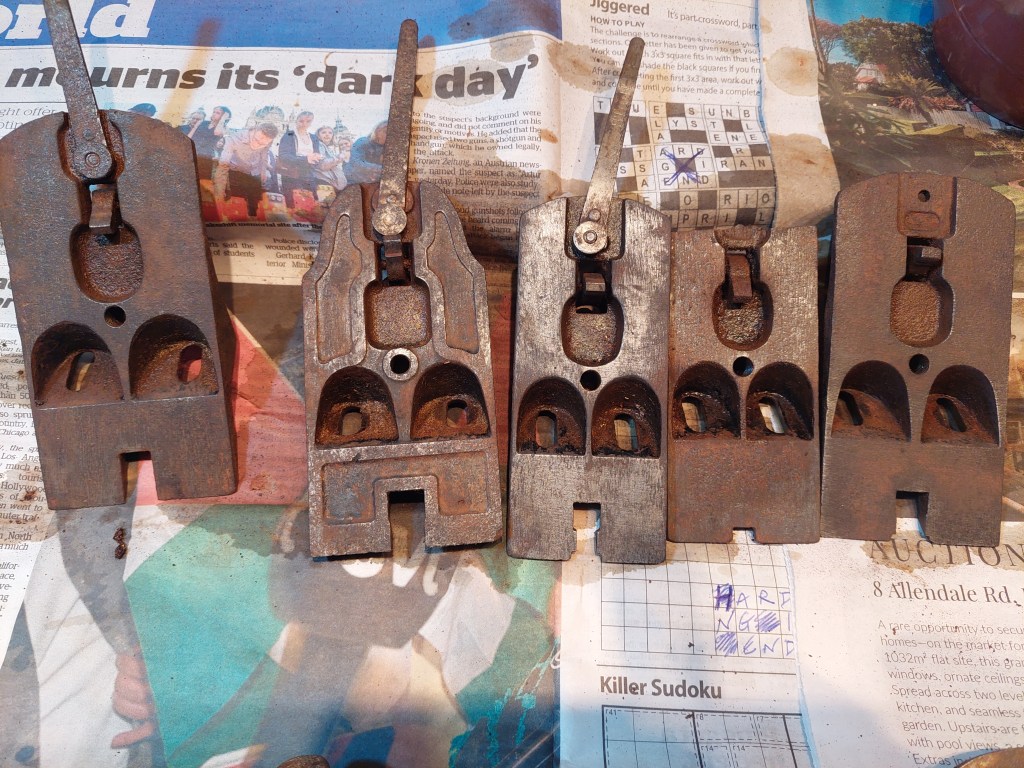
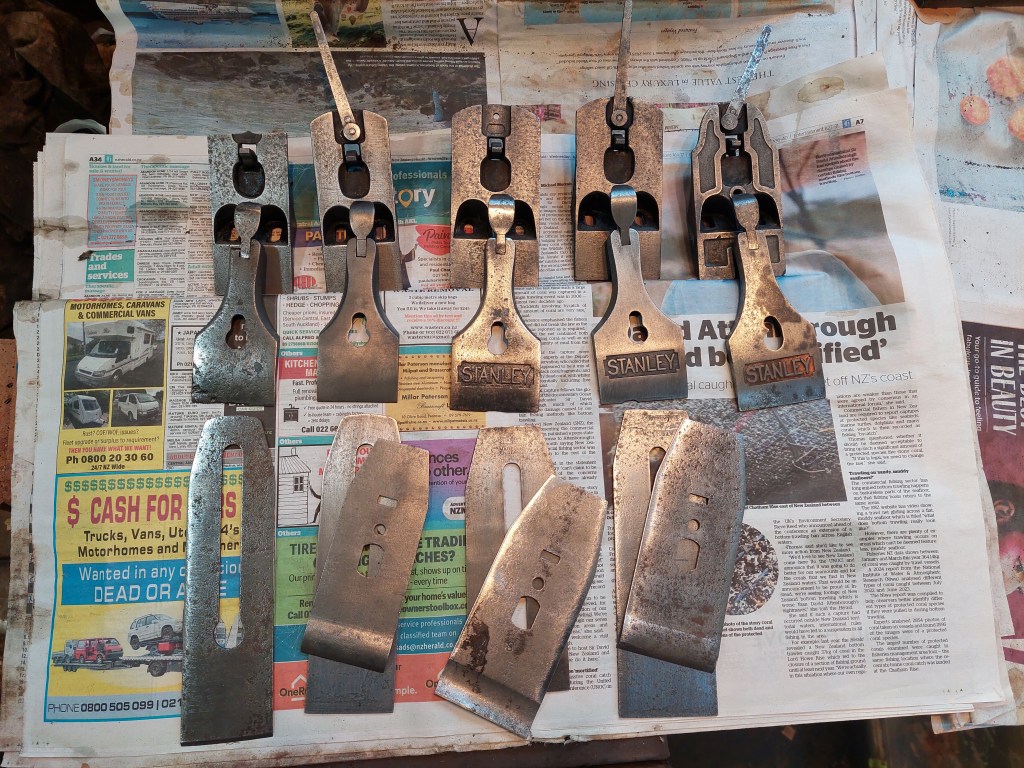
The frogs and the blade parts
These parts were treated with Evaporust as well using my usual bath (a sealed tub that can deal with small hand tools). Here is the result after 48 hours:

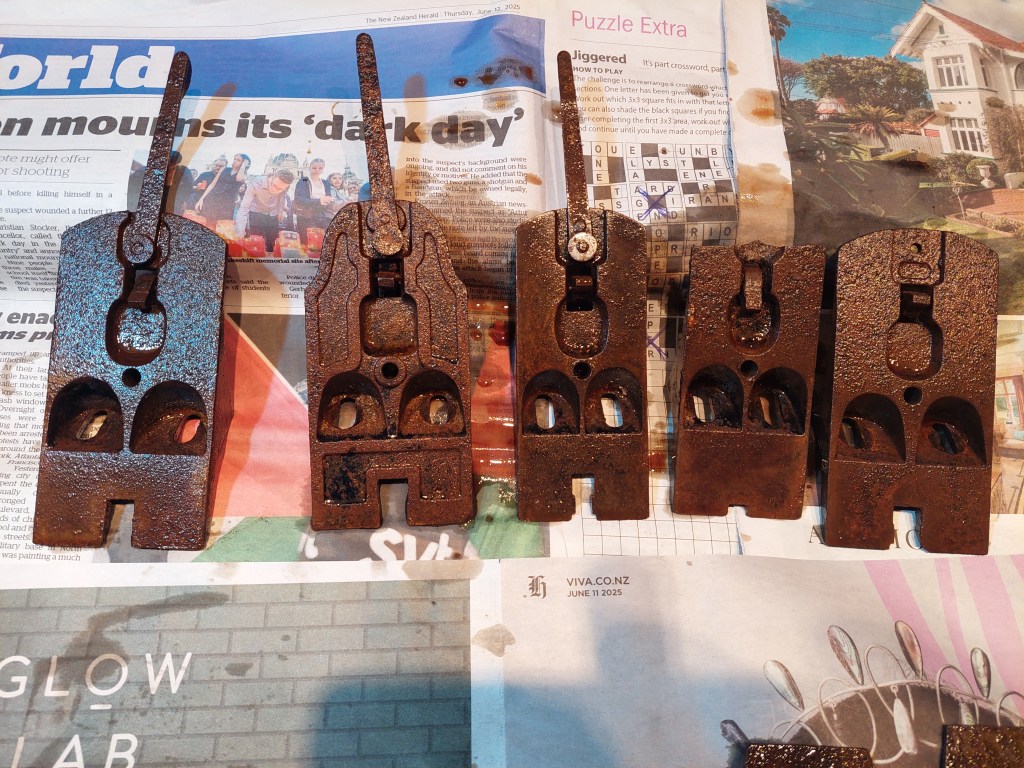
This looks disappointing; maybe this is due to the fact that I have been using this Evaporust bath for over 2 years. I don’t really know.
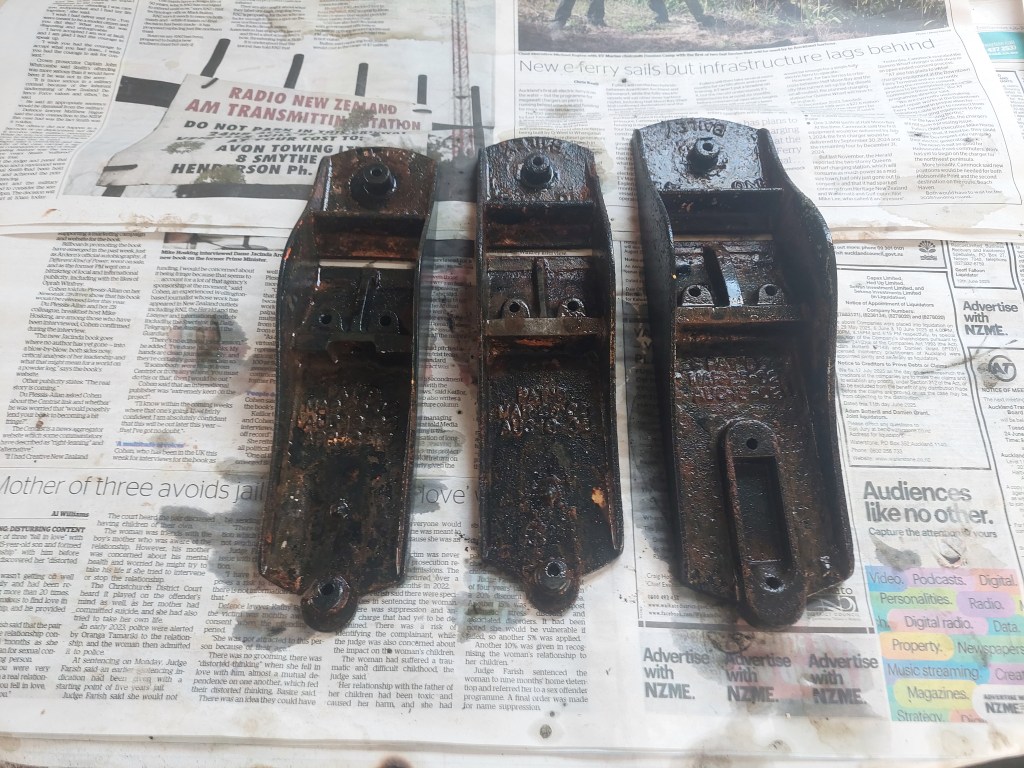
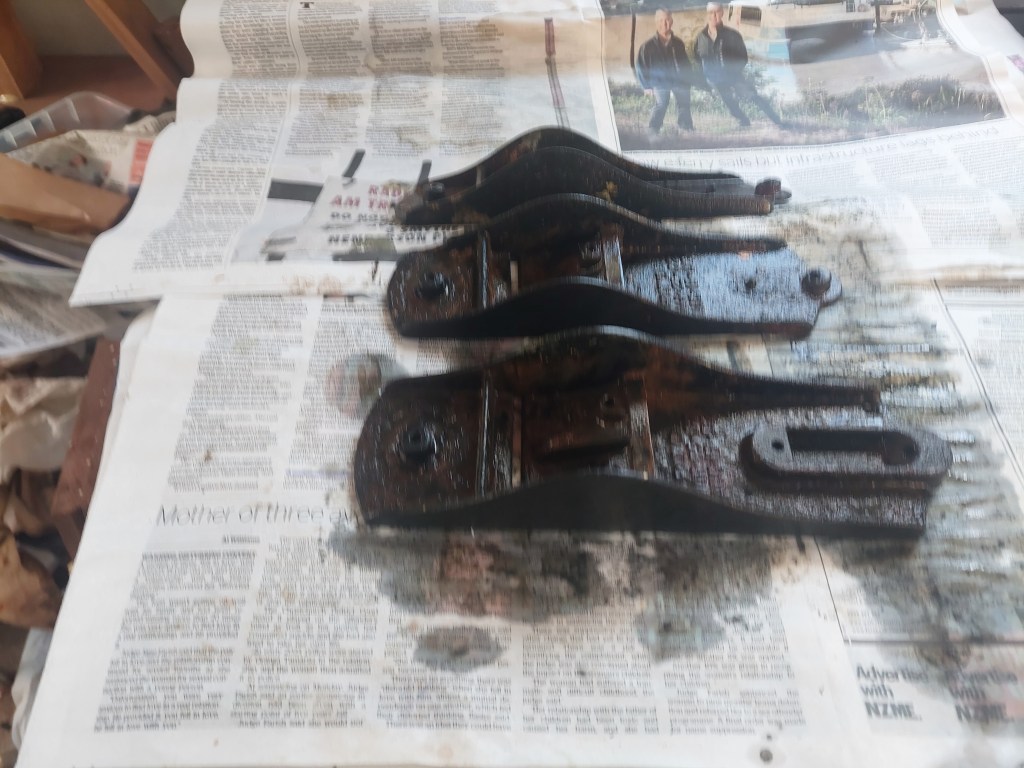
After cleaning them with a wire wheel (except the lever caps), one can see that the rust was partly removed. The frogs look way better, unlike the irons and the caps, where the result is a bit of a mixed bag.
I’ve put them all back in the bath, let’s see what we get tomorrow morning after another 12 hours of treatment.
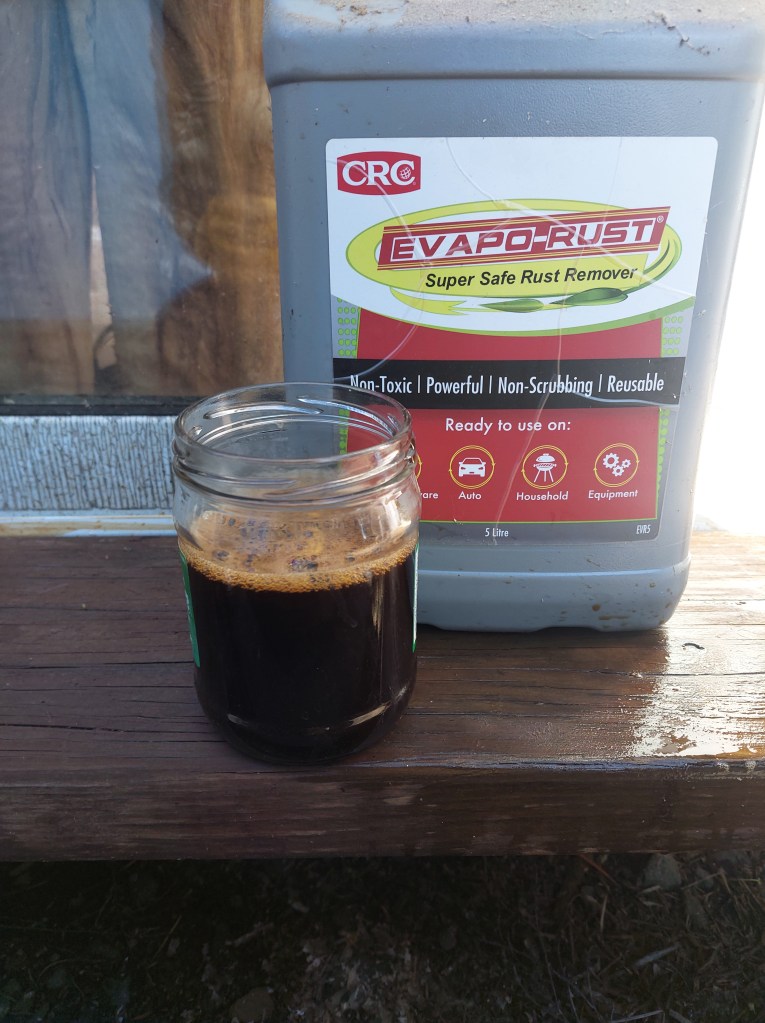
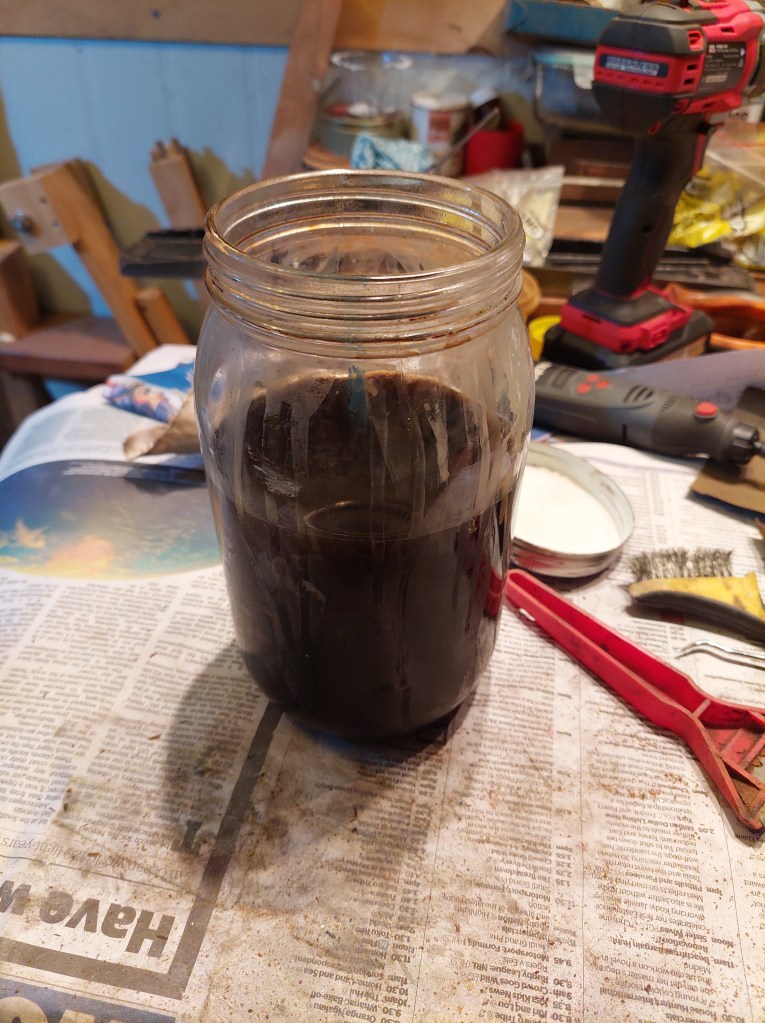
Let’s stay positive and say that we made some progress. Some parts are almost done, but there’s still quite a lot of rust. I decided to change the evaporust to see if it will make a big difference. See the difference of color, last photo is the old evaporust. It’s really dark. It has seen a lot of auger bits and other small hand tools.
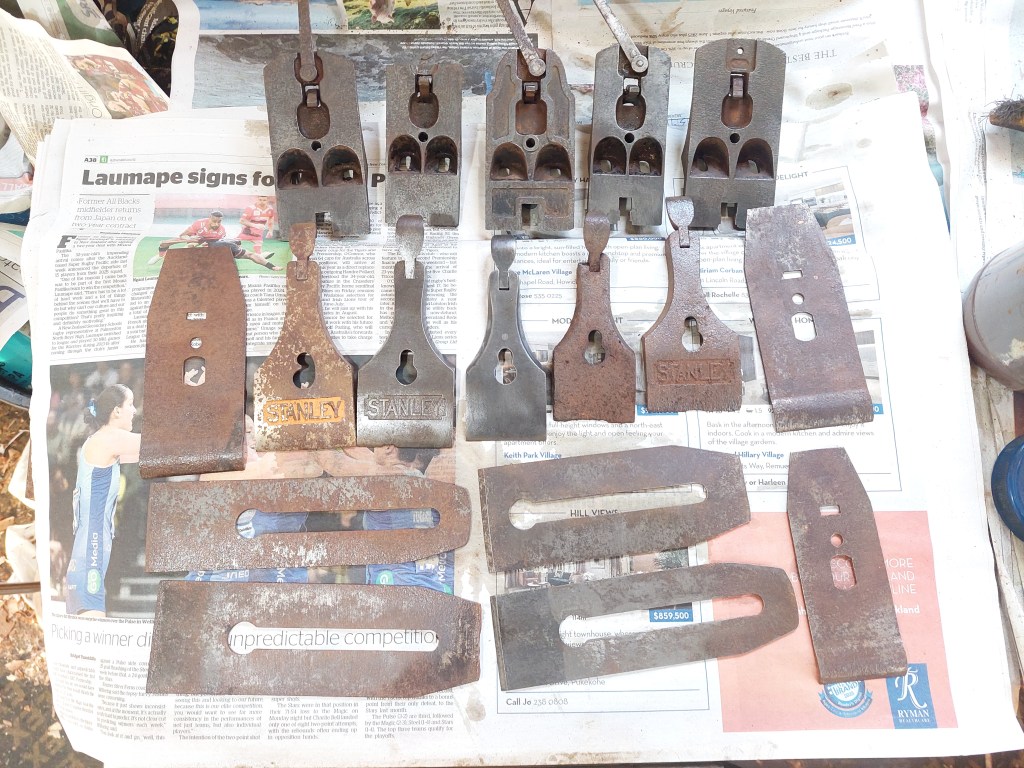

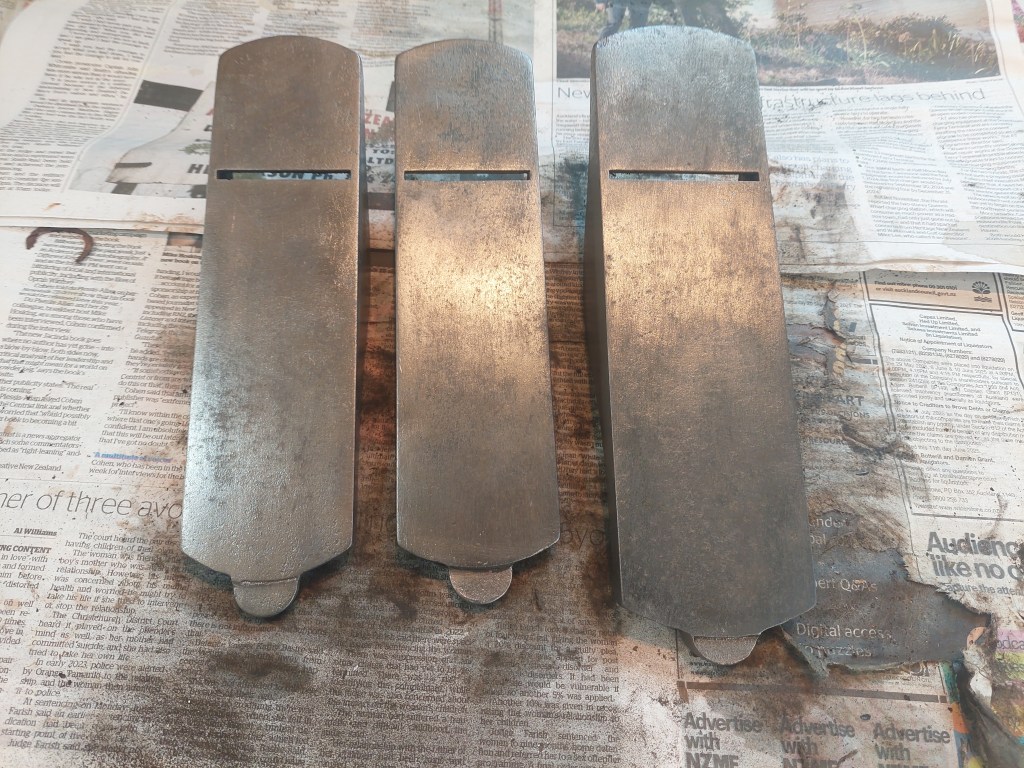
The day after, everything was mostly rust free. 2 of the lever caps were badly damaged and heavily pitted. I had to use the belt sander to make them look acceptable.
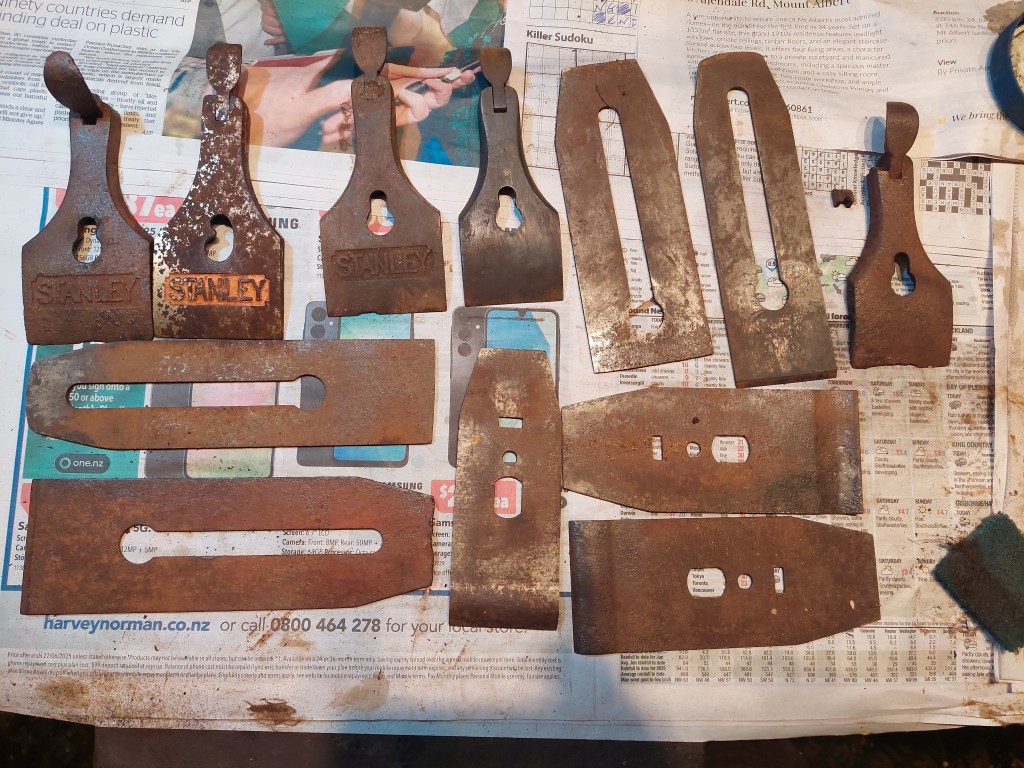
The woods
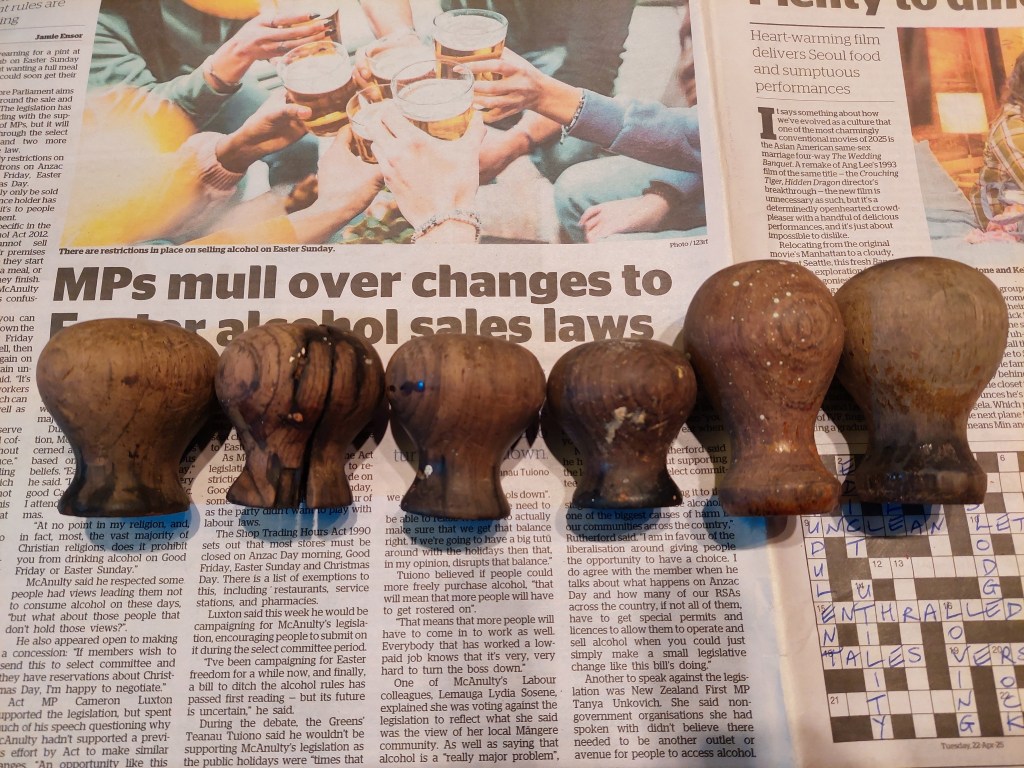
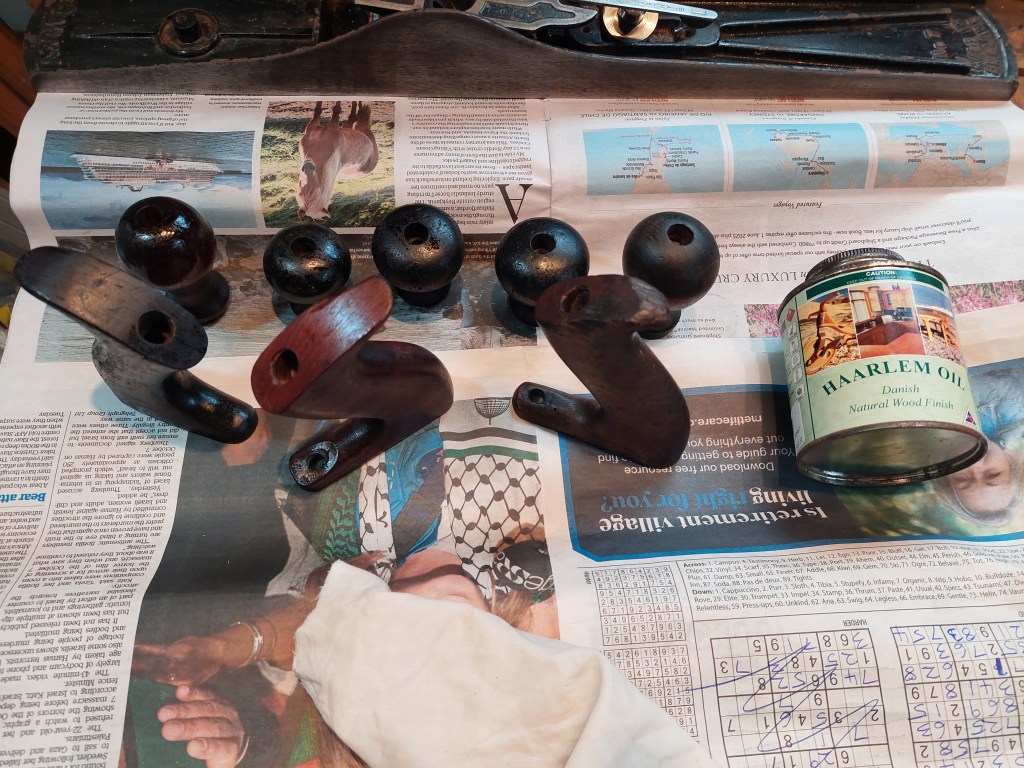
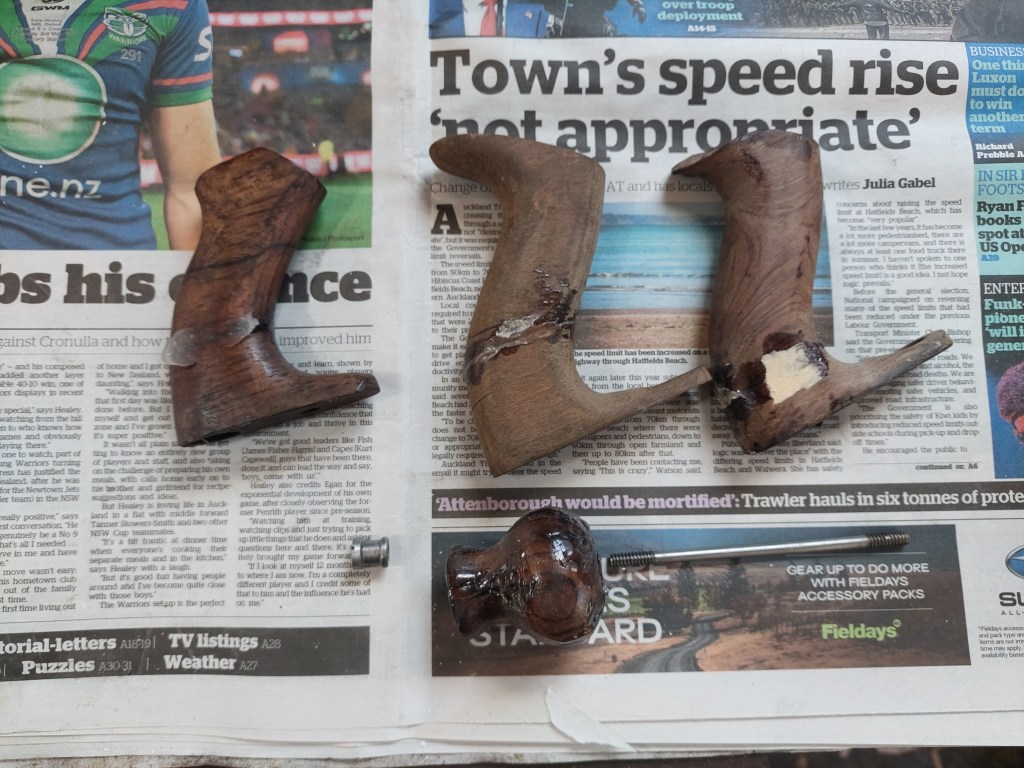
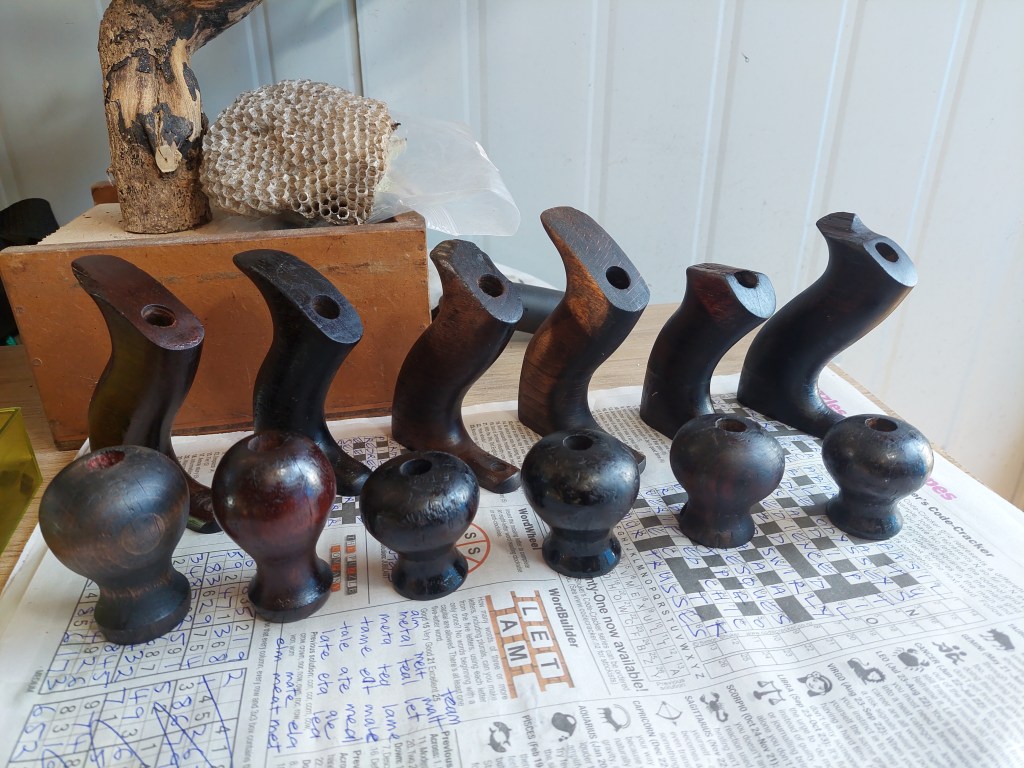
Surprisingly, the knobs are in good condition, with your usual splashes of paint! I have dedicated a blog section for the knob that looks thrashed; see further down (no spoiler! :~)). Five of these knobs are made of rosewood. One low knob is smaller than the other ones. It is likely a replacement, maybe from a #3 or even a #2 (Pleace leave a comment if you know. It’s the forth knob on the first photo).
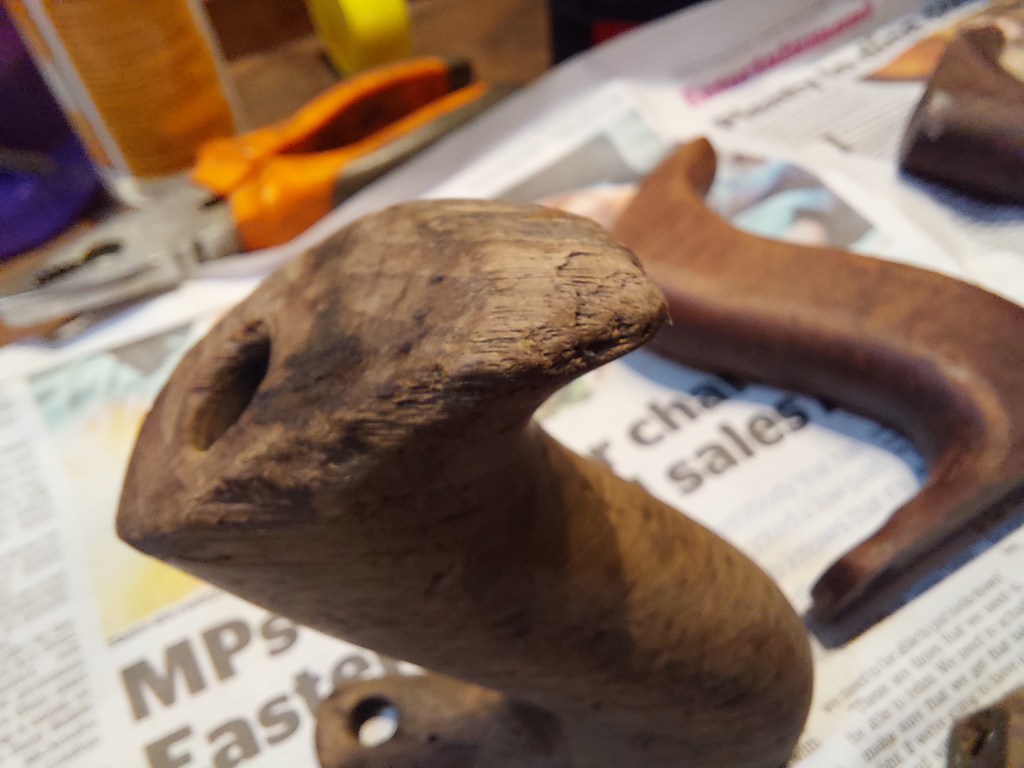
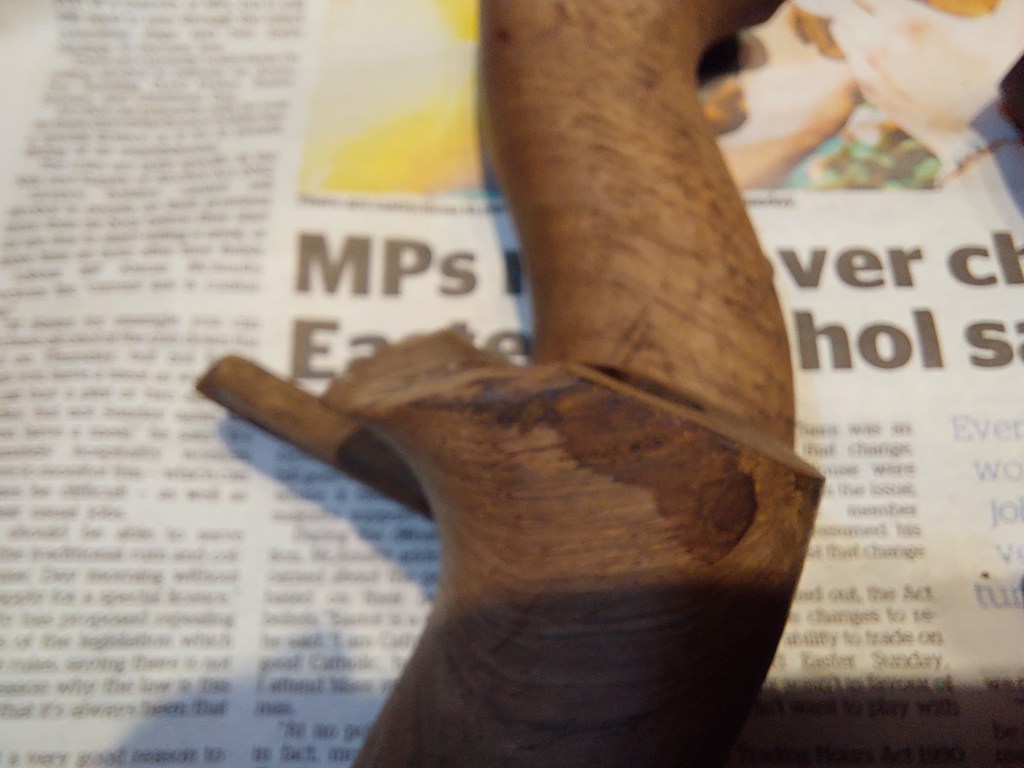
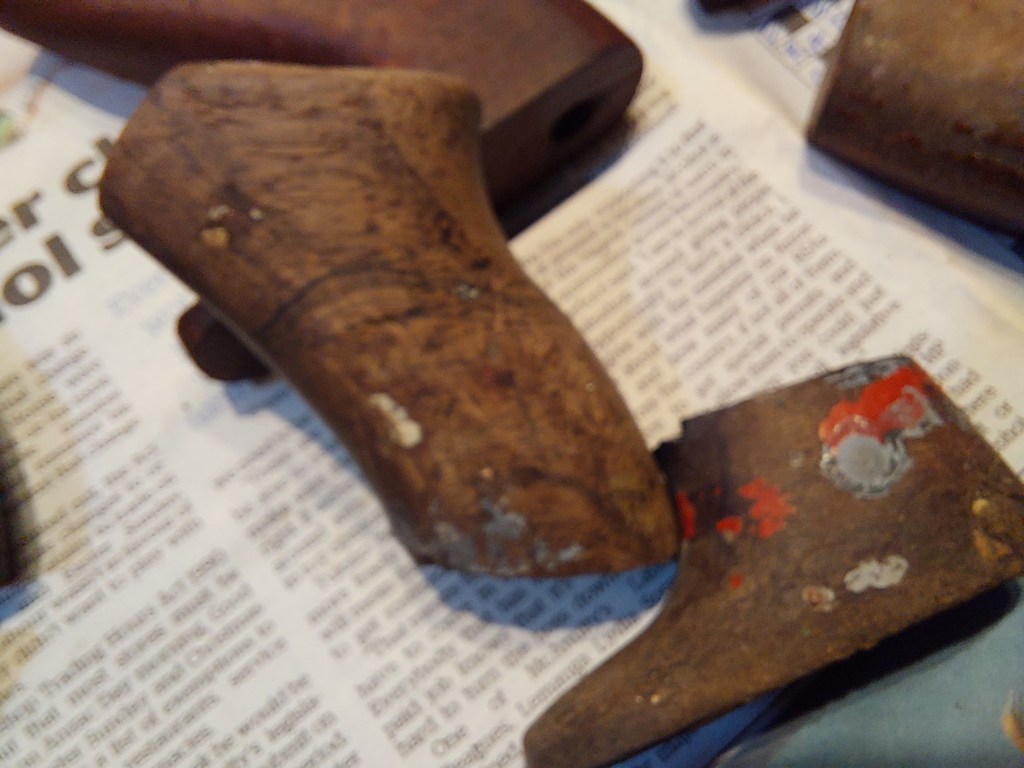
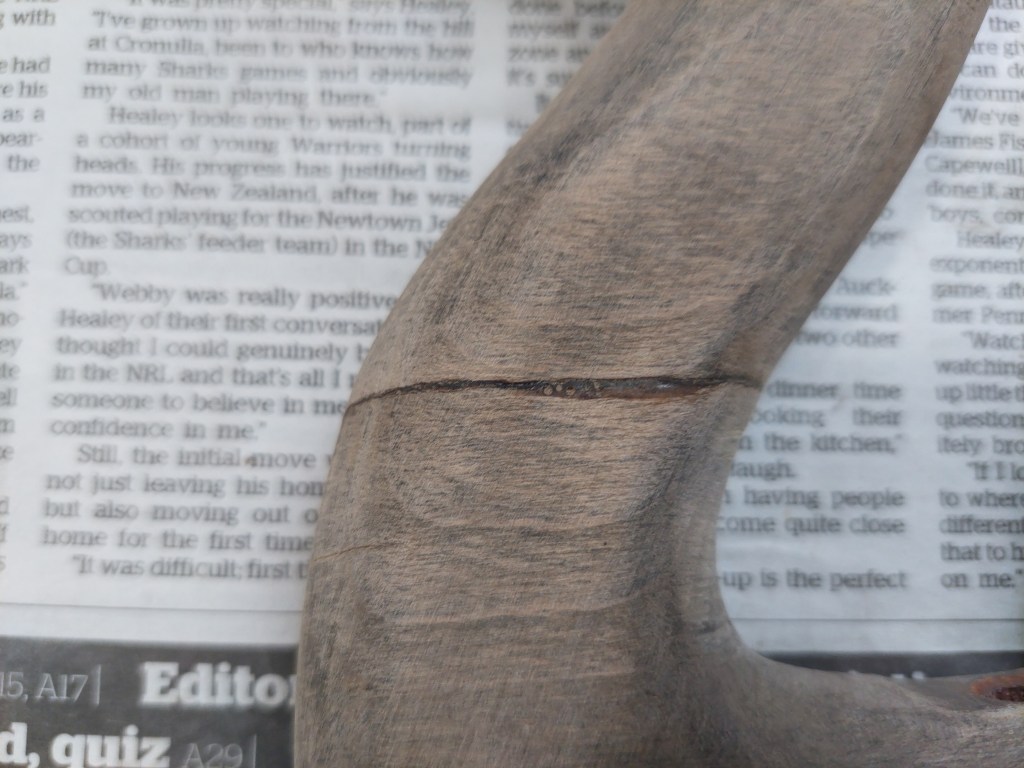
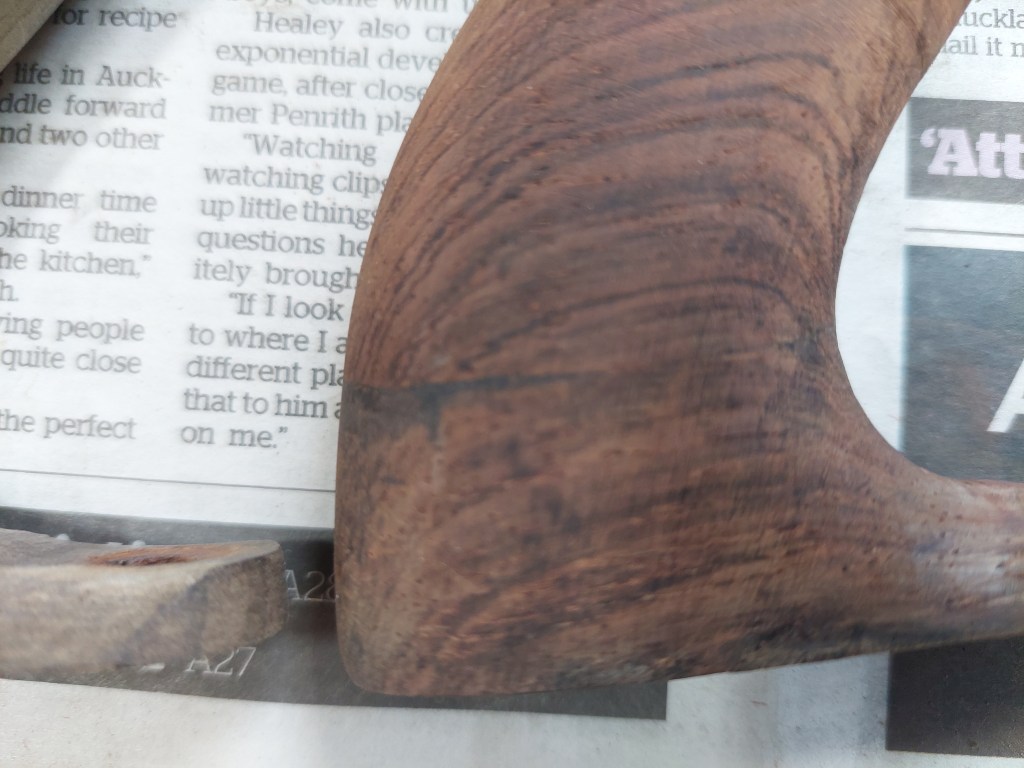
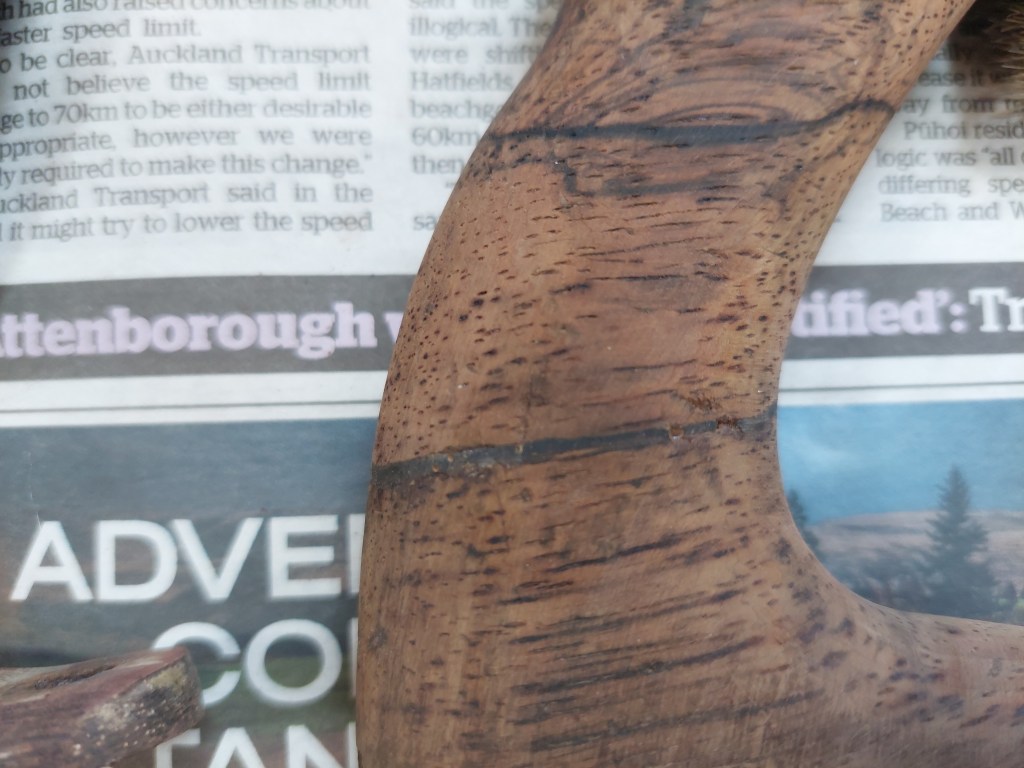
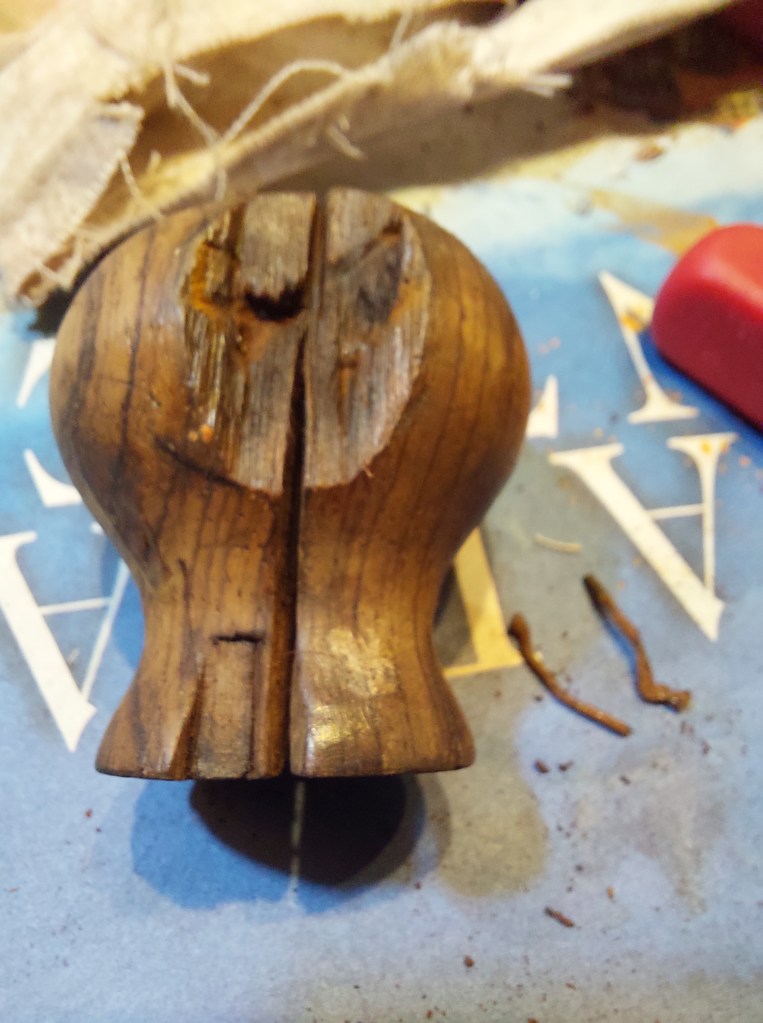
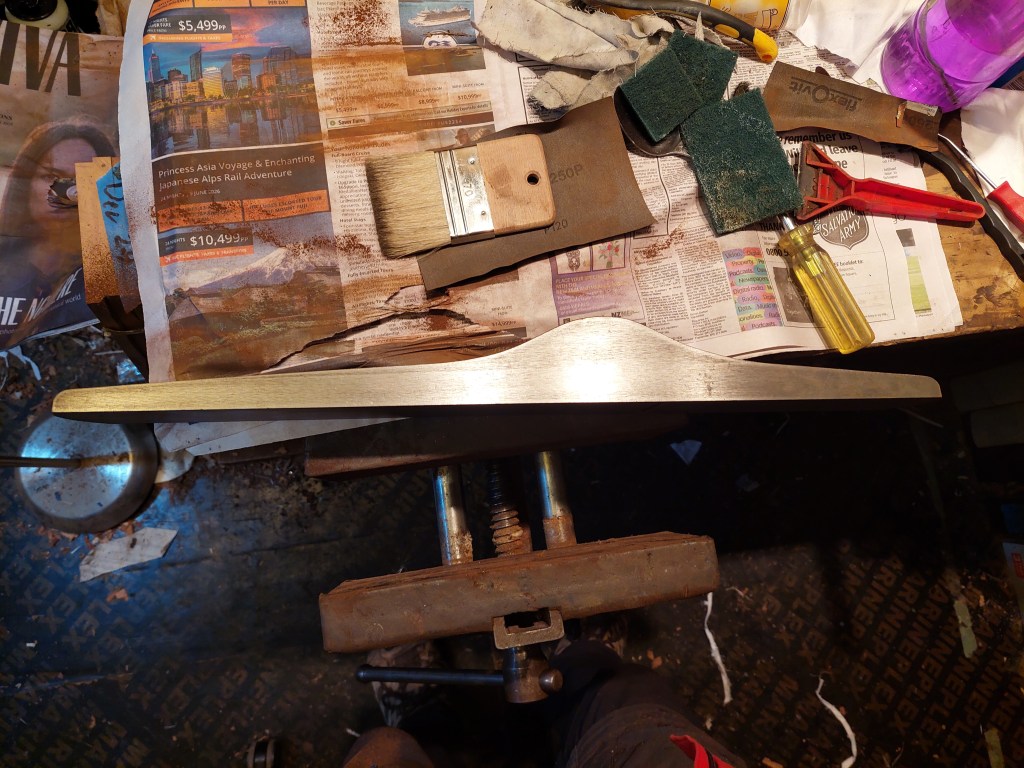
Four of the totes are made of rosewood. One (top left) may be rosewood; I’m not sure (leave a comment and give us your opinion). Three of them are in one piece, with some horn damage to various degrees. Two of the broken ones (bottom left and right) should glue back together relatively well. The third one (bottom center) is too damaged; the two parts don’t mate anymore (details in the last photo).


I thoroughly cleaned the unbroken knobs and totes. I used a mix of methods. First, they go into an acetone bath (for 20-30 seconds), followed by a swipe and rub with a cloth. When the paint or varnish resists, I scrape it with a blade, and I repeat the acetone bath until I’m happy with the results.
I then applied three coats of Danish oil, and I will finally buff them with wax.
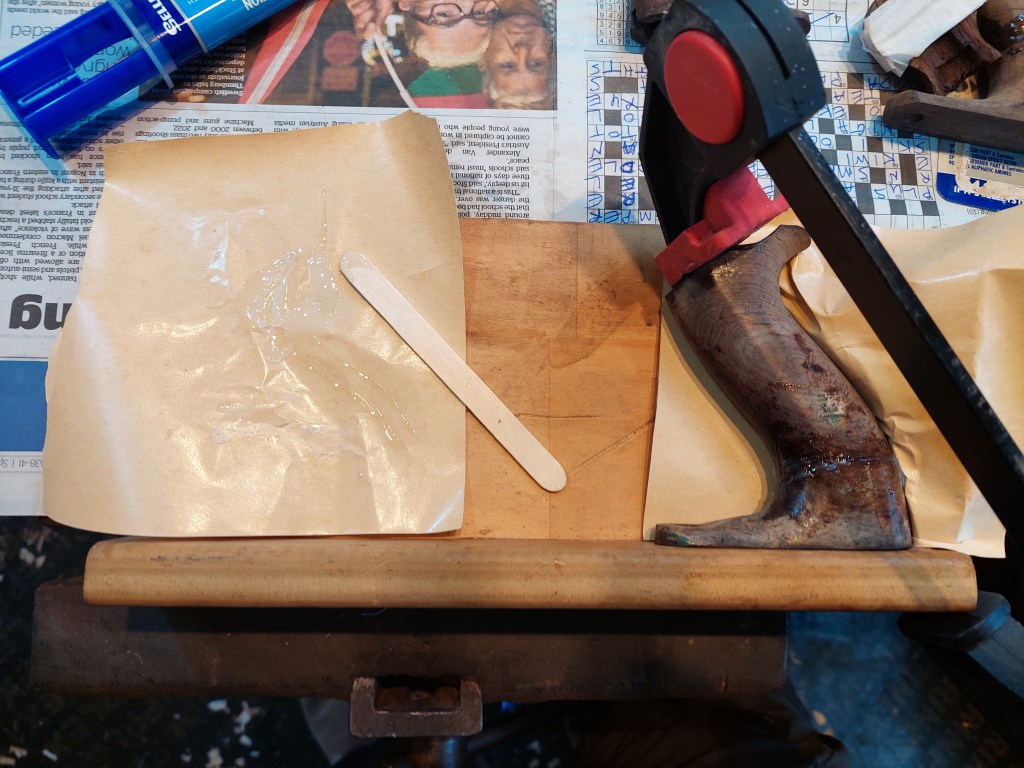
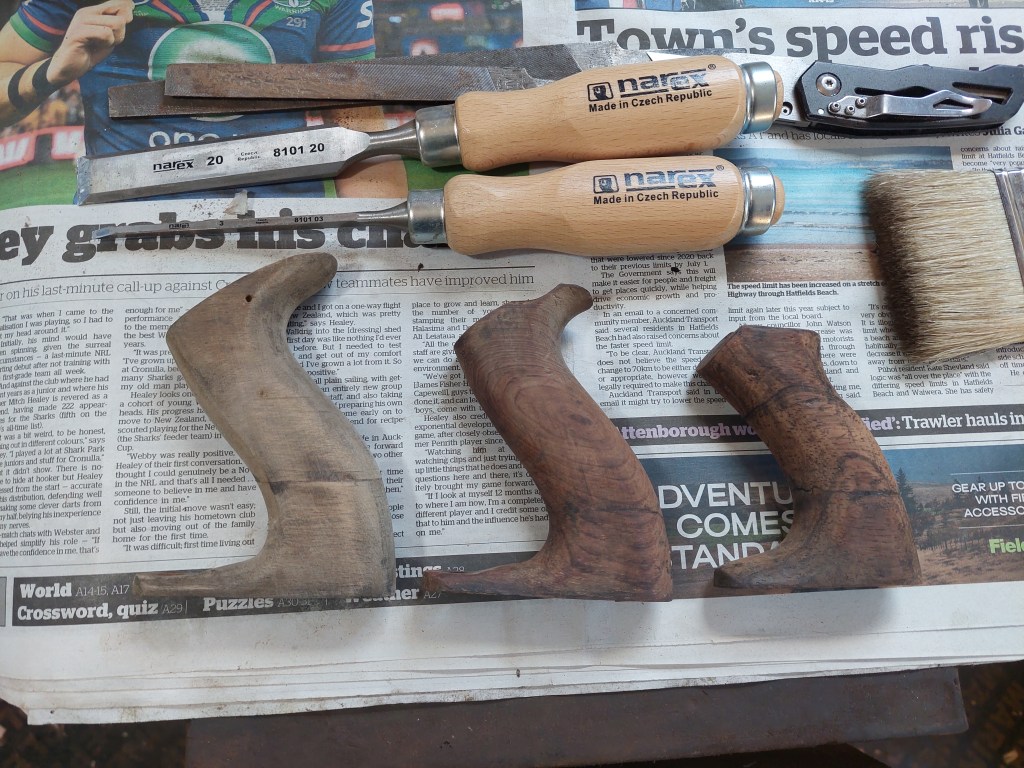
To fix the broken totes, I use a simple jig that allows me to hold the tote against a matching shape, which secures the parts while applying pressure with one clamp along the length and a second one (when necessary) to keep the two parts in the same geometrical plane. I believe that the jig idea comes from Gordon Addison on YouTube.


Once everything has dried, I start removing the excess glue with sharp chisels. Then I finish the job with 120 grit and 220 grit sandpapers.
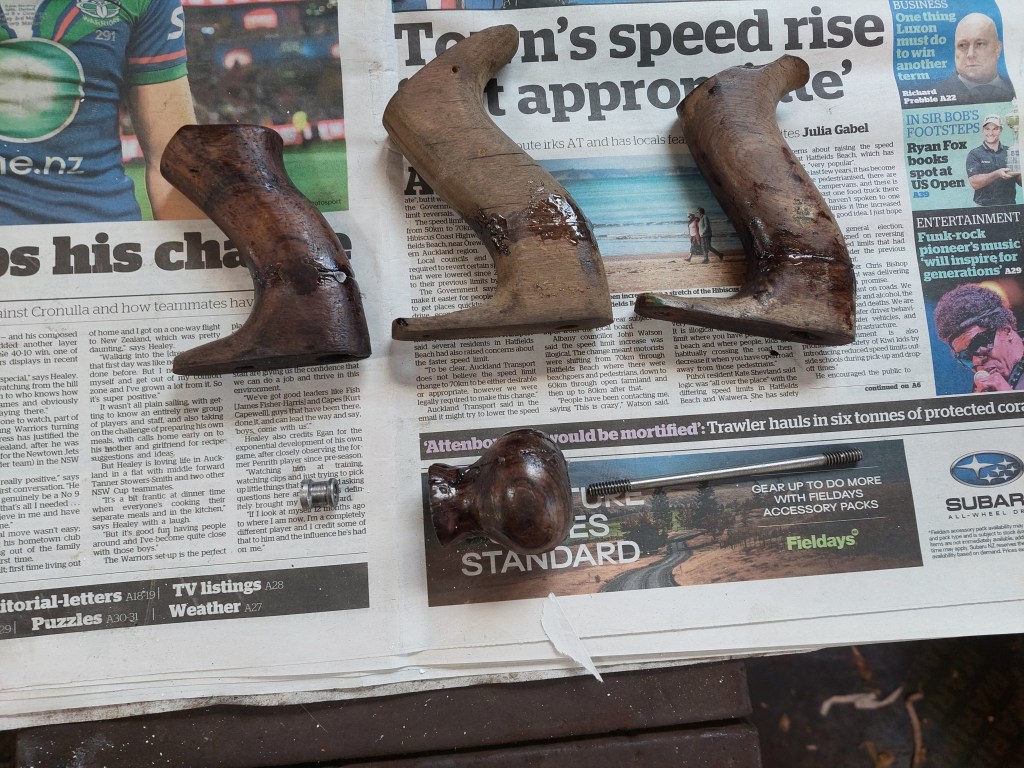
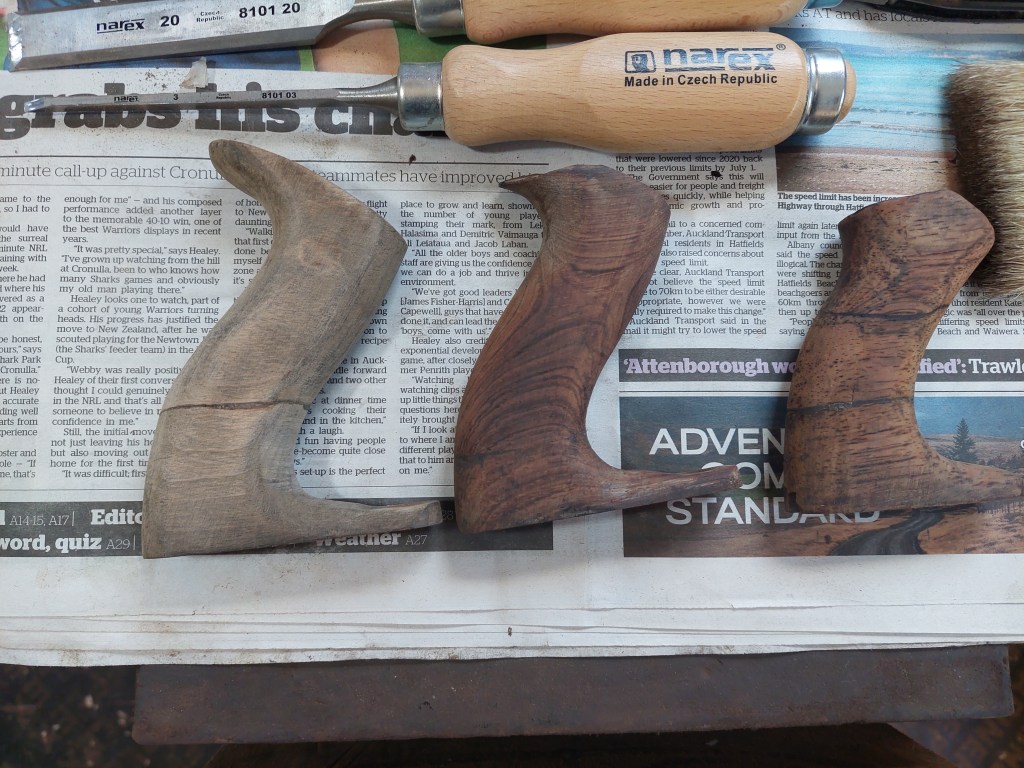
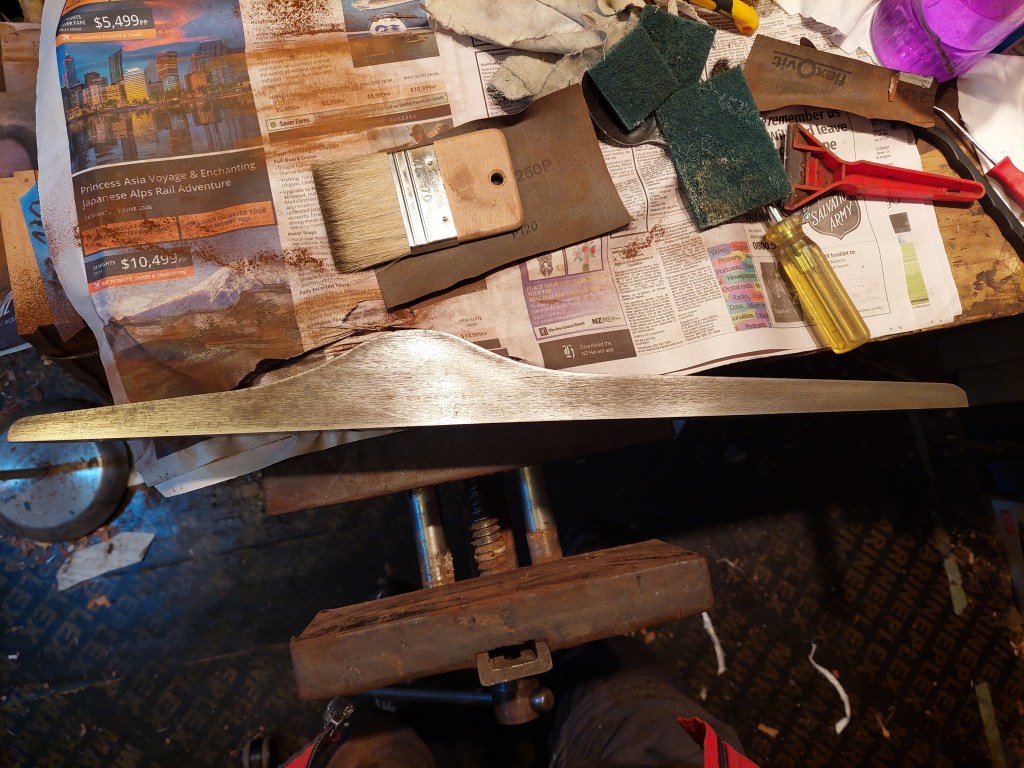
Here is the final result after everything got 3 layers of danish oil.
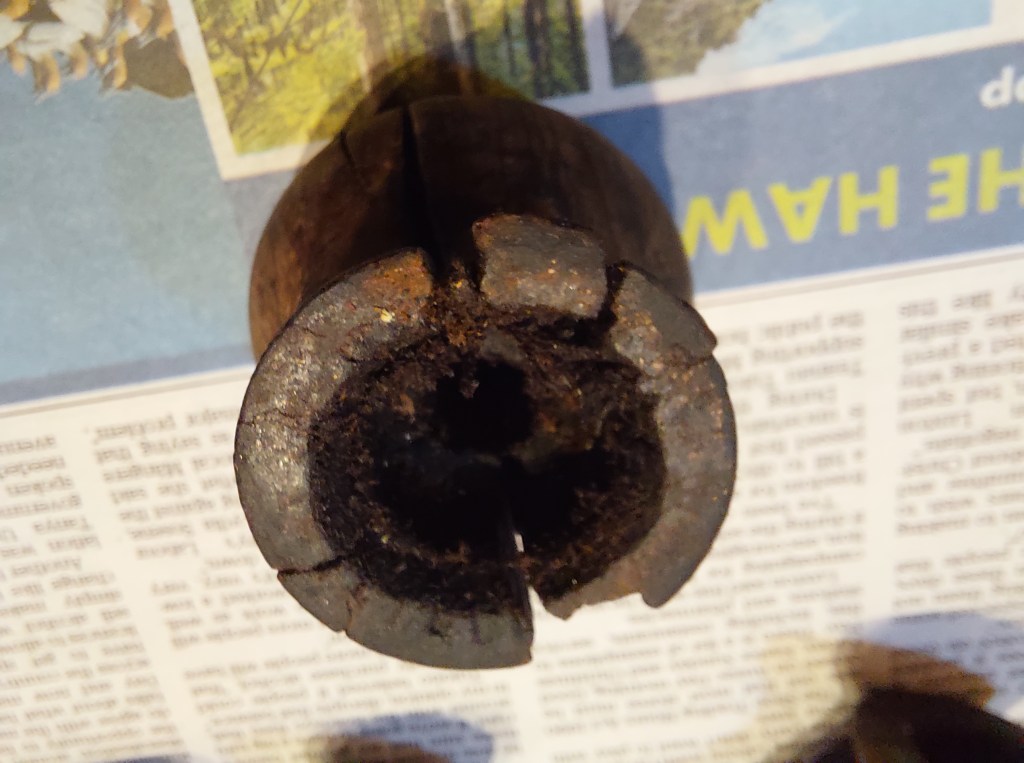
Rosewood knob damaged beyond repair?
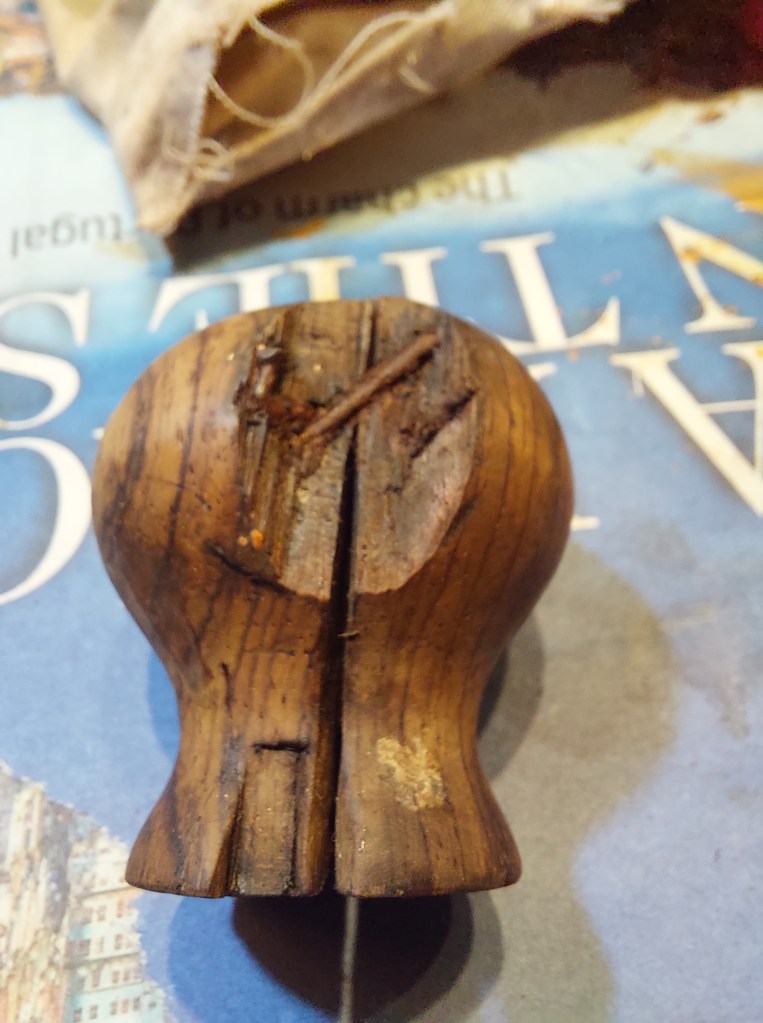
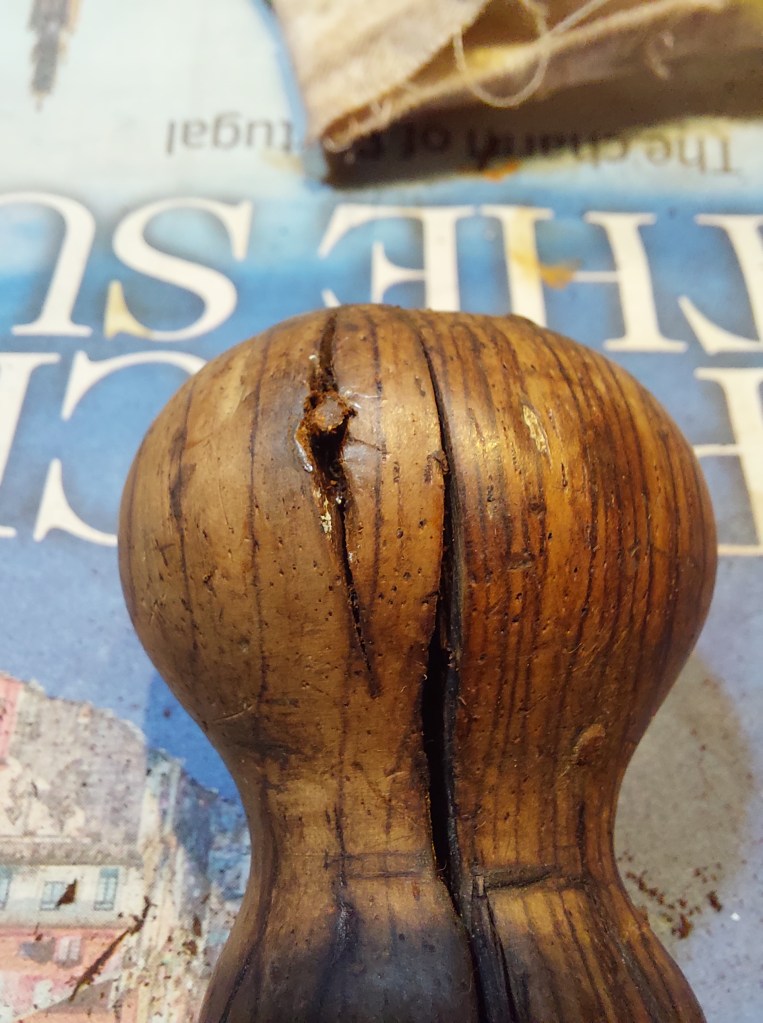
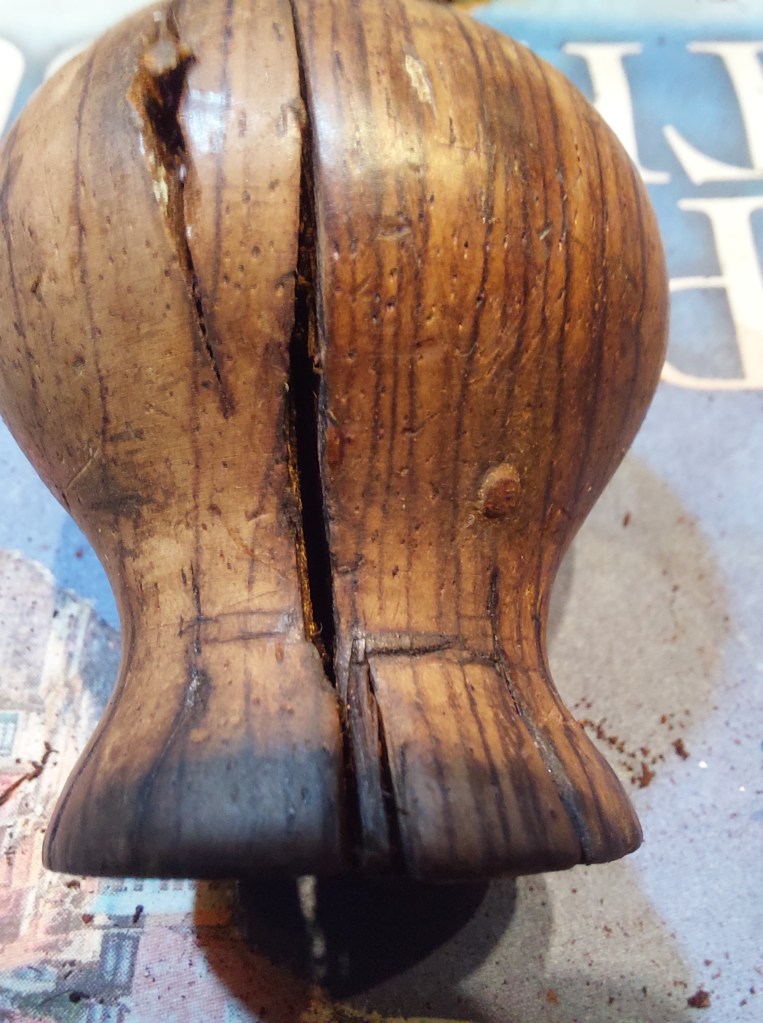
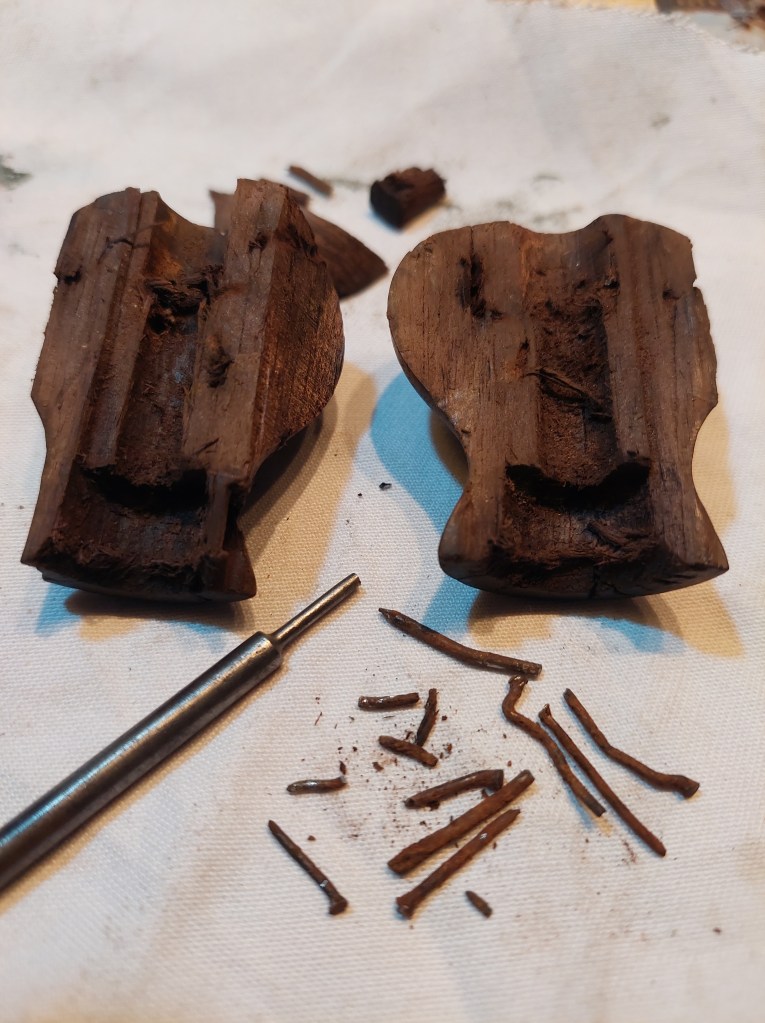
Remember the knob from the #4-1/2? At first, I thought this knob was beyond repair. After a more thorough cleaning, I inspected it closely and discovered a nail, then two, three, four! But wait, there’s more!tm. In total, I removed 8 full nails and four broken ones!?!
I ended up splitting it in two by inserting a putty knife into the main crack. I don’t know what the problem was at the beginning, but nails were not the solution. The nails have created more cracks, with some rosewood pieces falling apart.
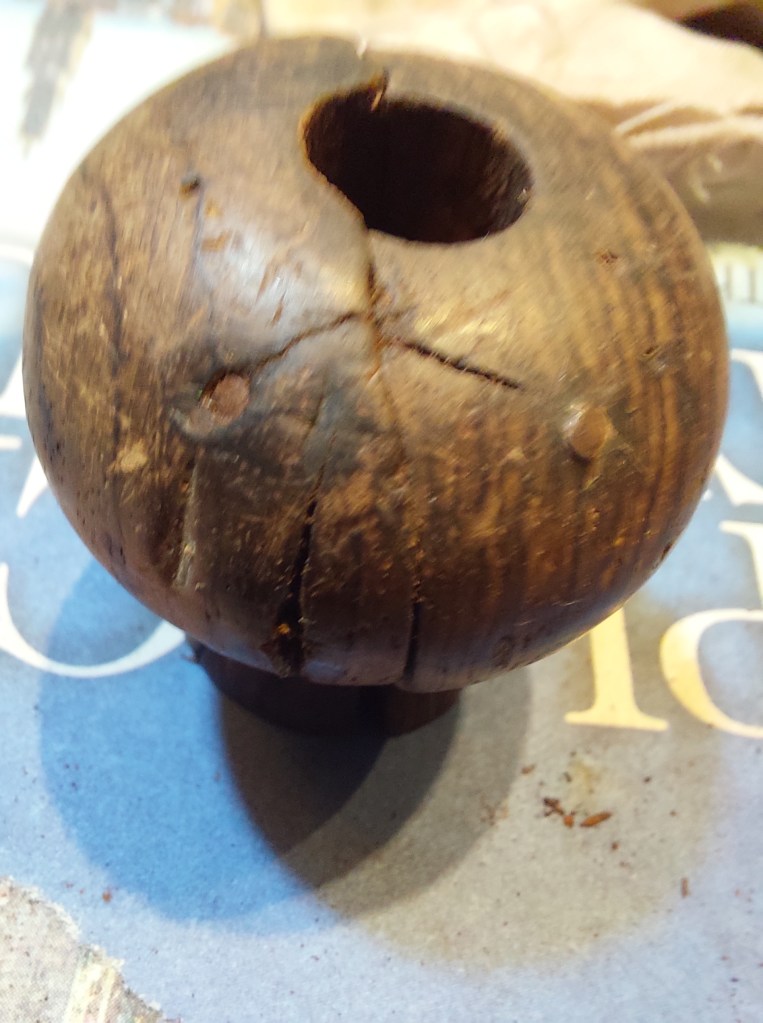
Inspecting the nails, it looks like they are from two generations. Some nails are square and likely old; some others are round and likely modern.

Now that all the nails are removed, I assessed if and how these knob parts could be put back together. I decided to glue them with epoxy. First I glued the small fallen pieces on the two halves, then glued the two halves together and finally added the last small fallen piece.
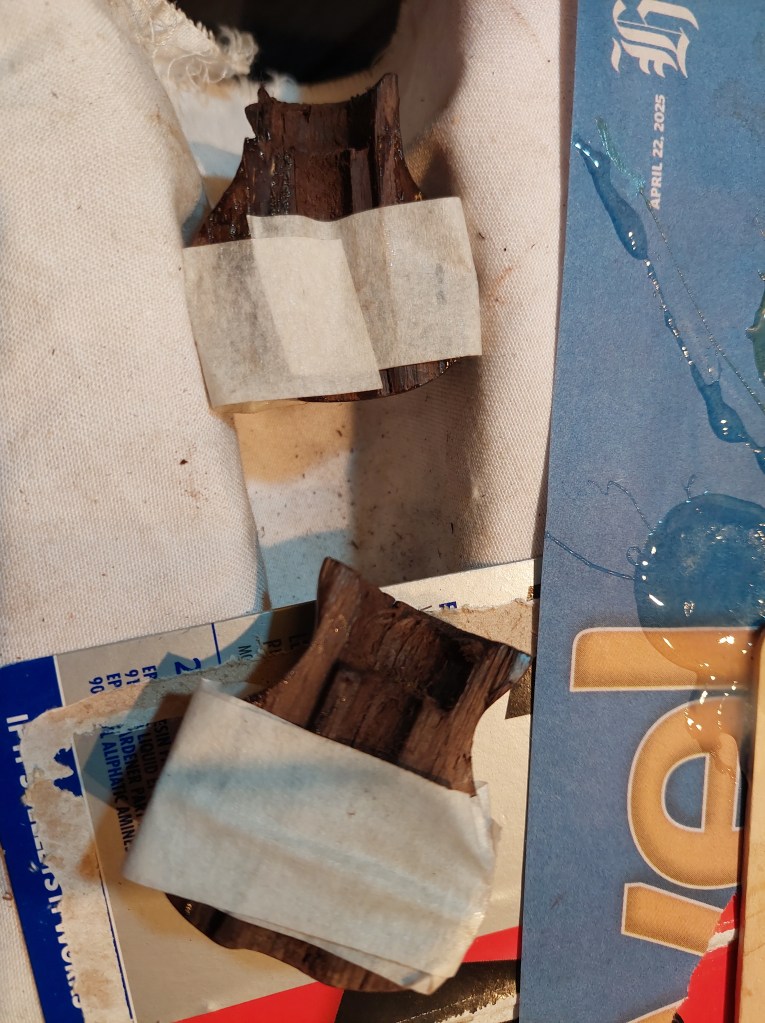

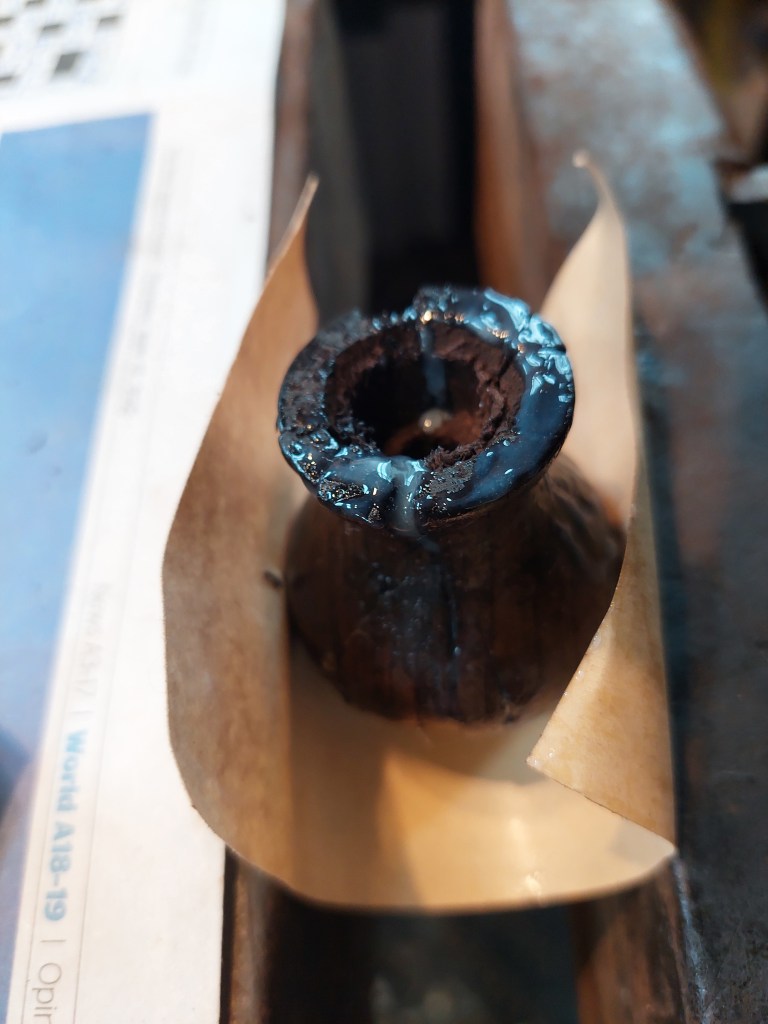
It looks messy with the glue applied generously, but it is done in an attempt to fill as much void as possible. This is my first time with an extreme knob repair.
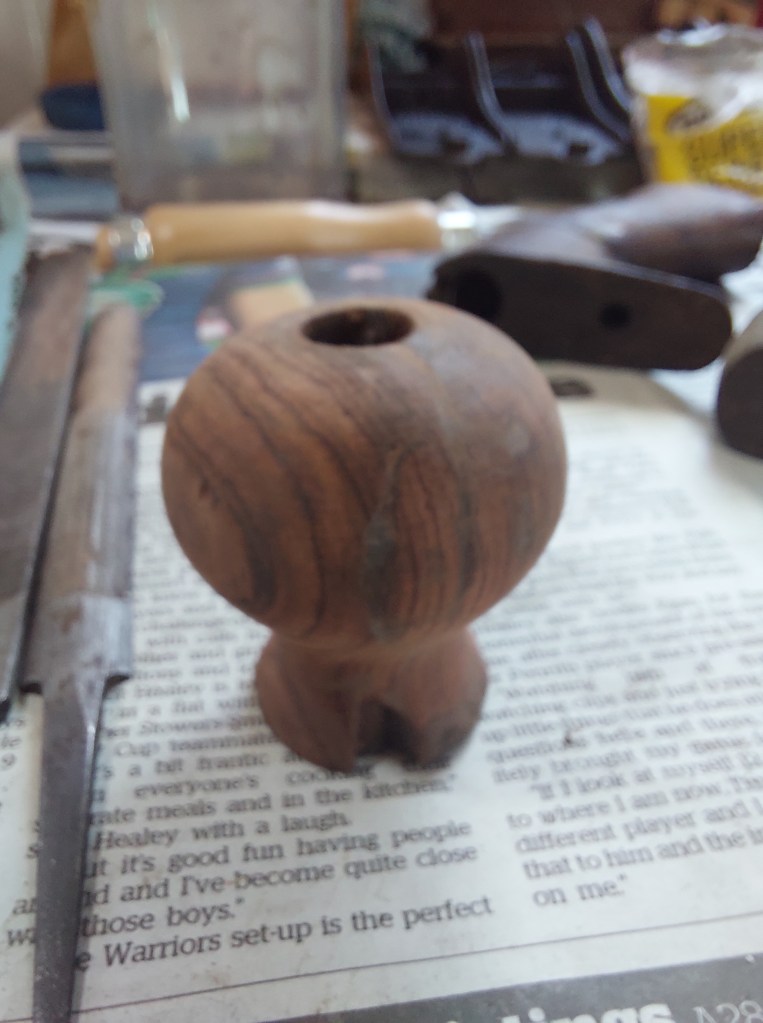
Once dried, the knob required a lot more work than the broken totes as there was a lot of excess glue. Also some of the small pieces that were glued back protrubated a bit. So I had to use files to correct the shape. Then I mounted the knob on my cordless drill for the final sanding.


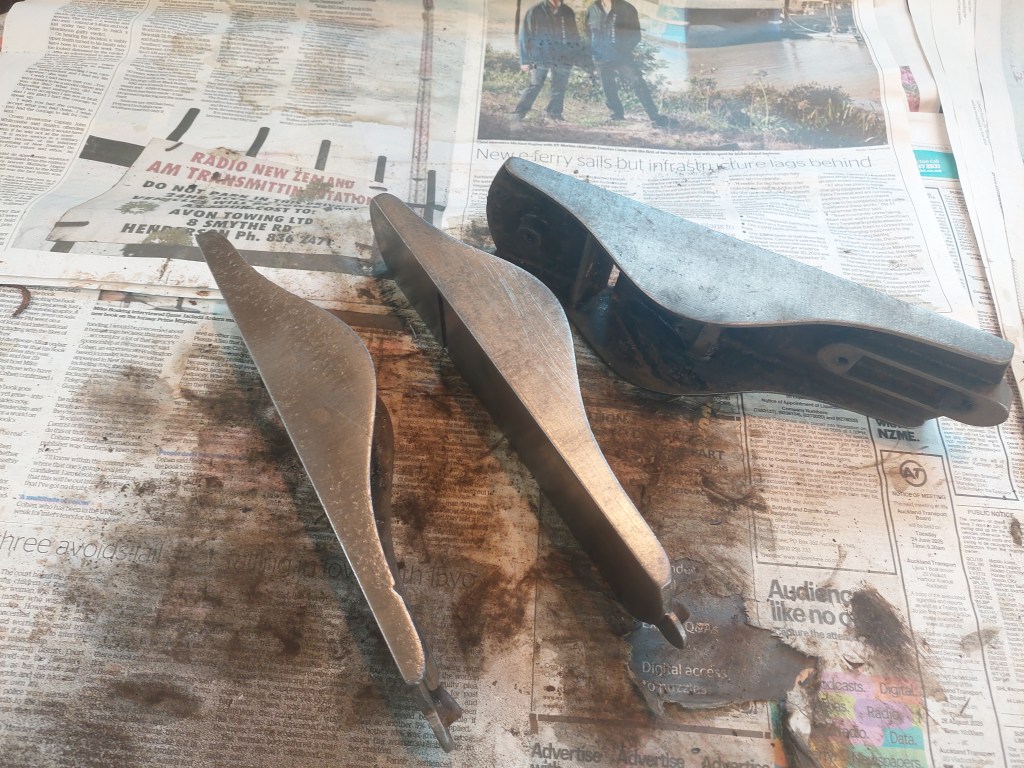
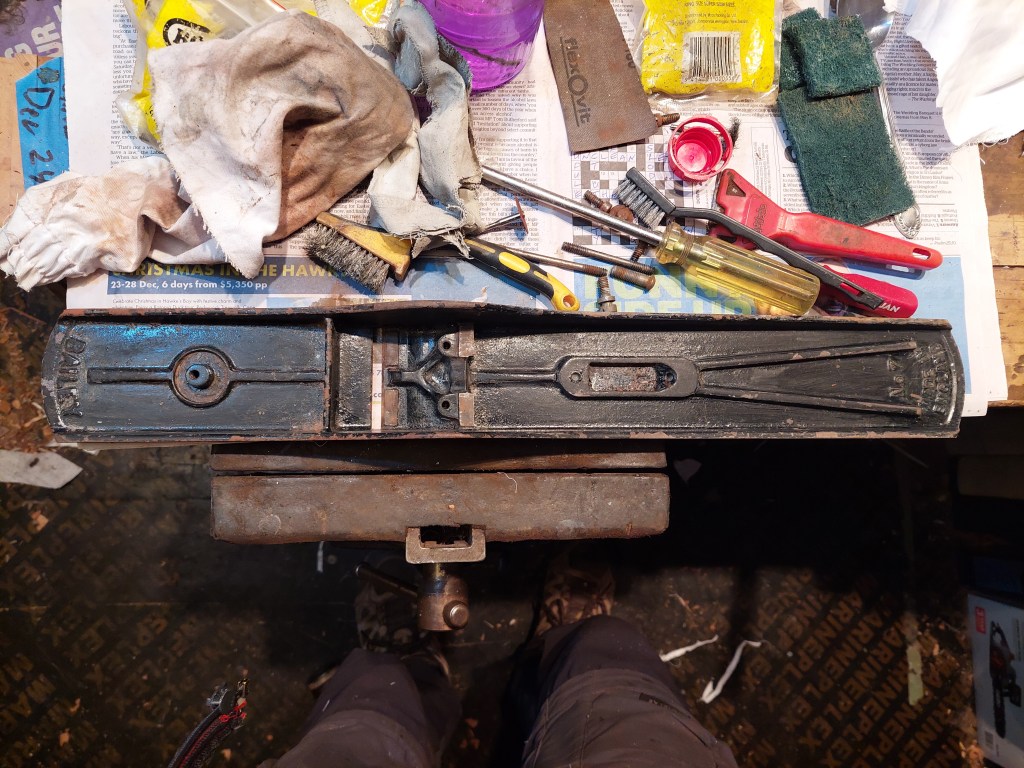
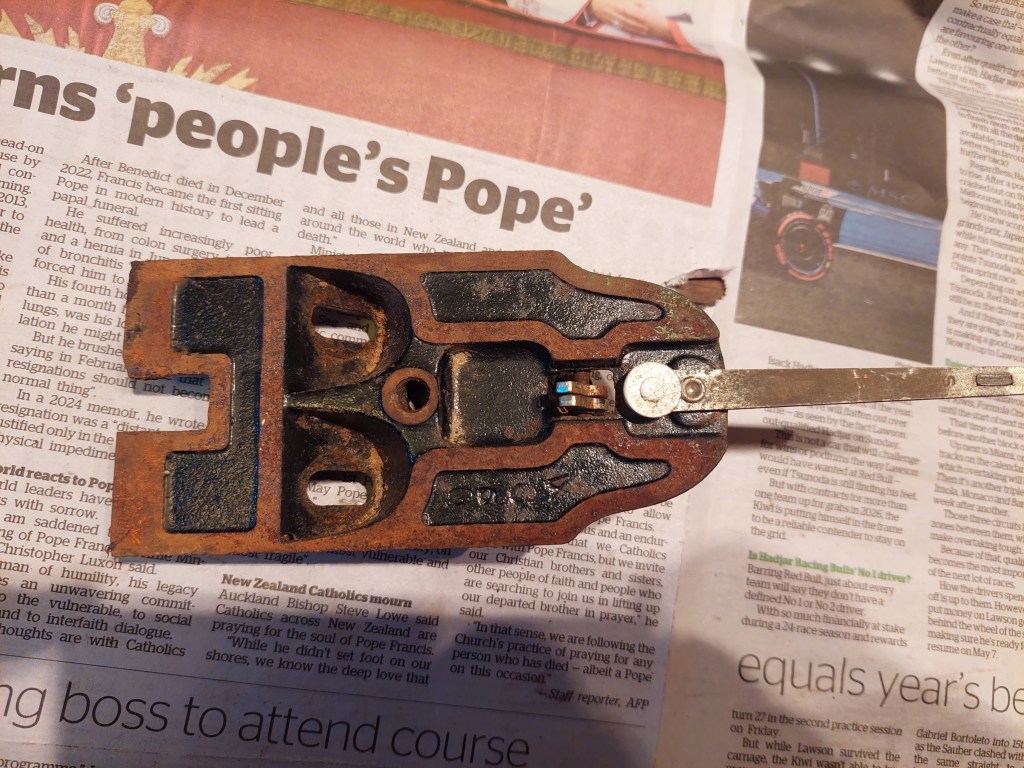
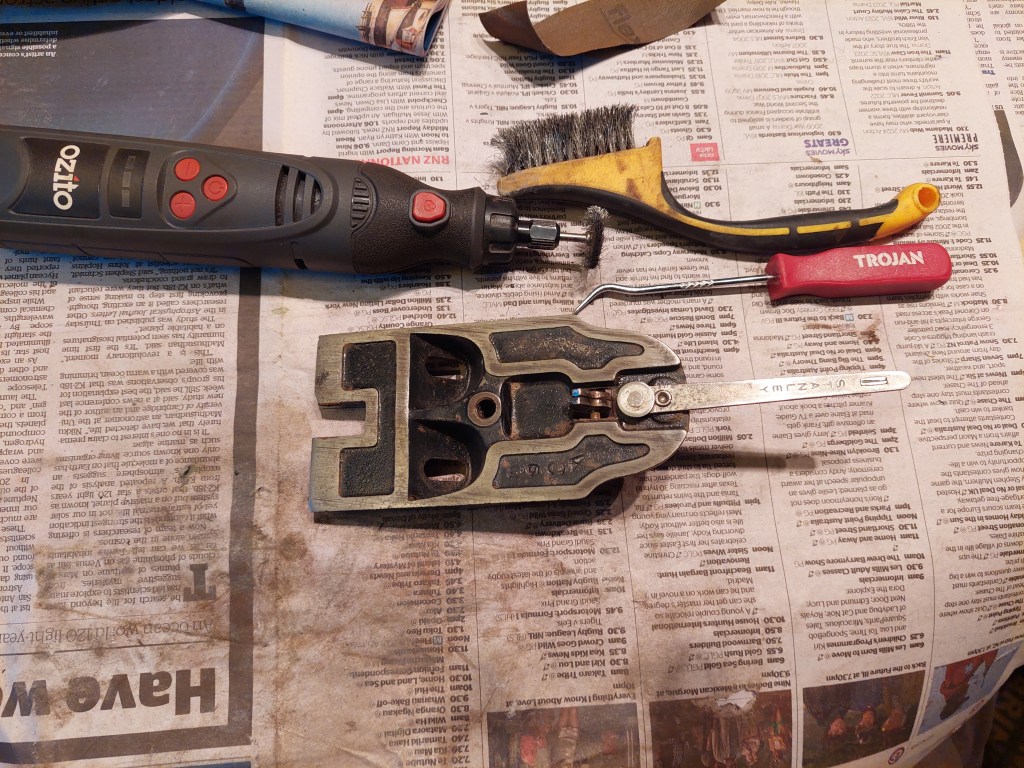
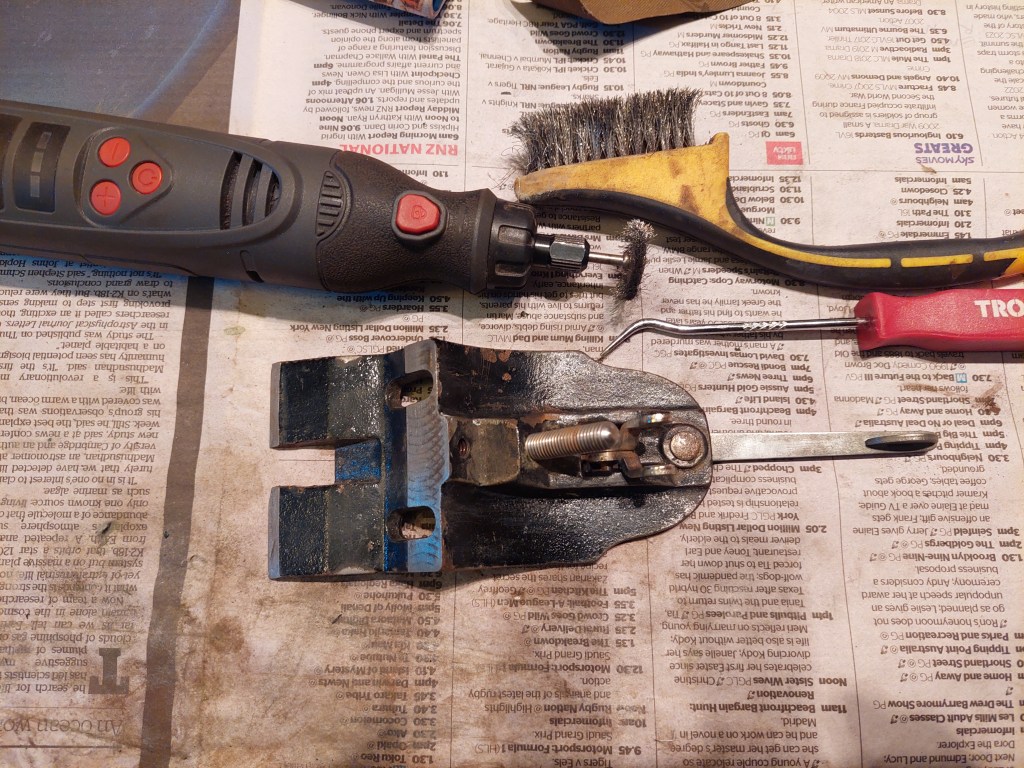
The #7 with ribs and aluminium parts
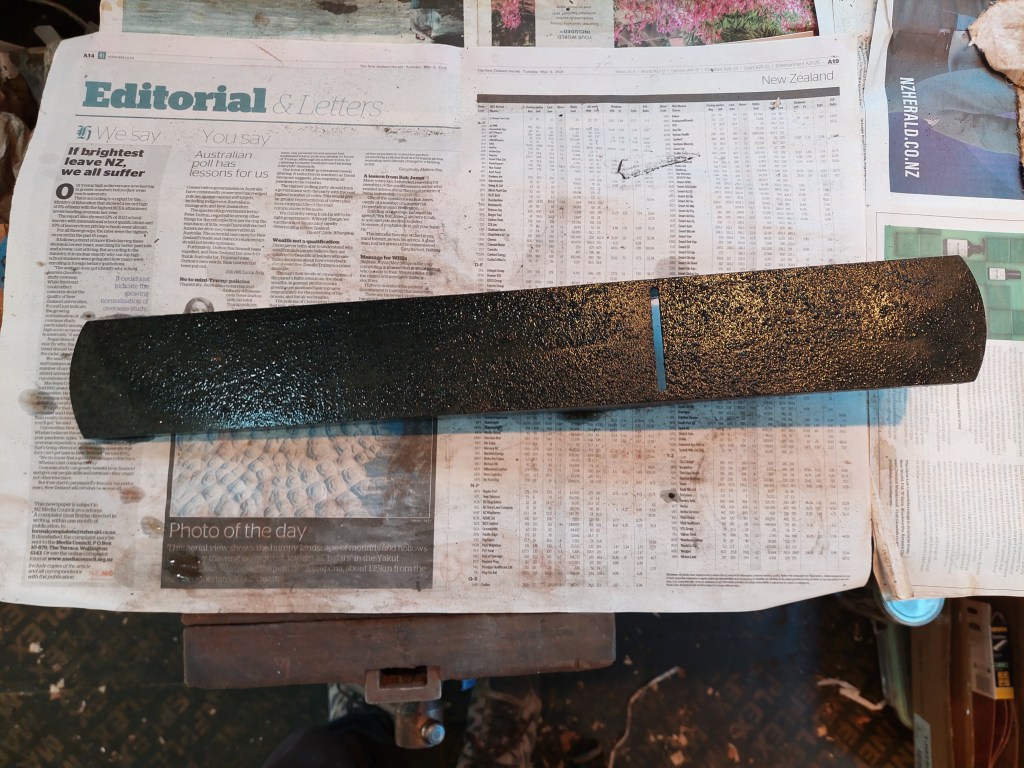
This plane is the least rusty. So I decided to simply use sandpaper to clean the body. It didn’t take long to get decent results. I simply placed a piece of 120-grit strong sandpaper (emery cloth) on the bench and glided the plane on it, back and forth. These planes are so heavy that there’s no need to apply any force; gravity will do its job.
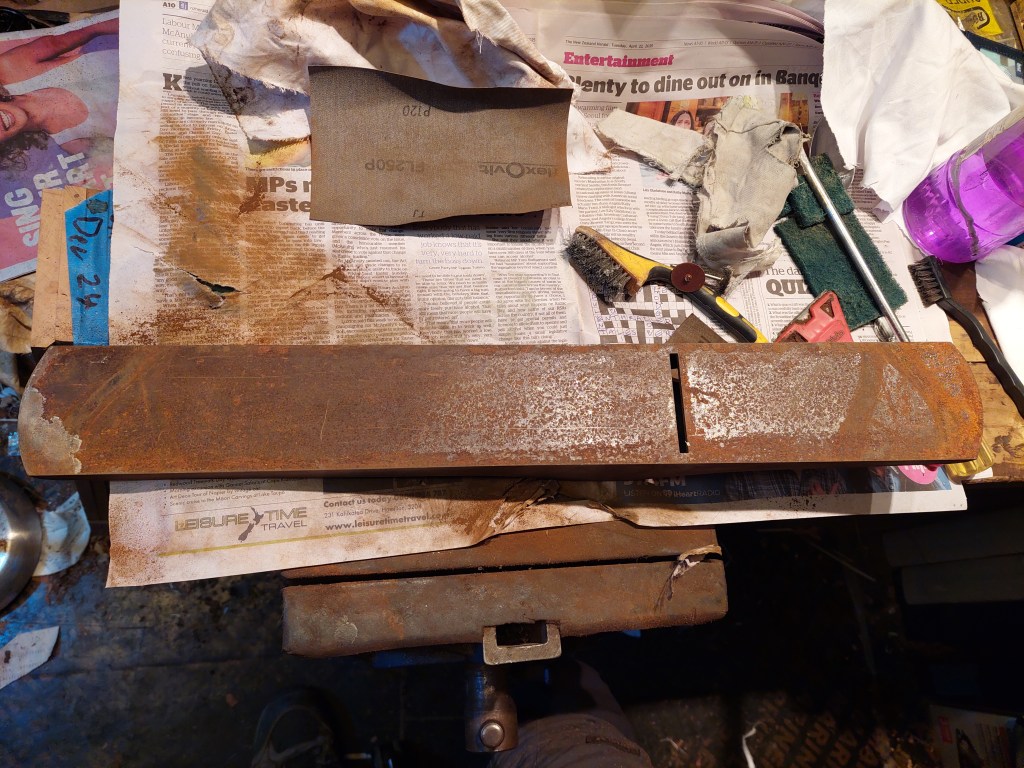
Now comes the tricky part: Get rid of the “paint” job. There’s some red at the front and some green at the back.
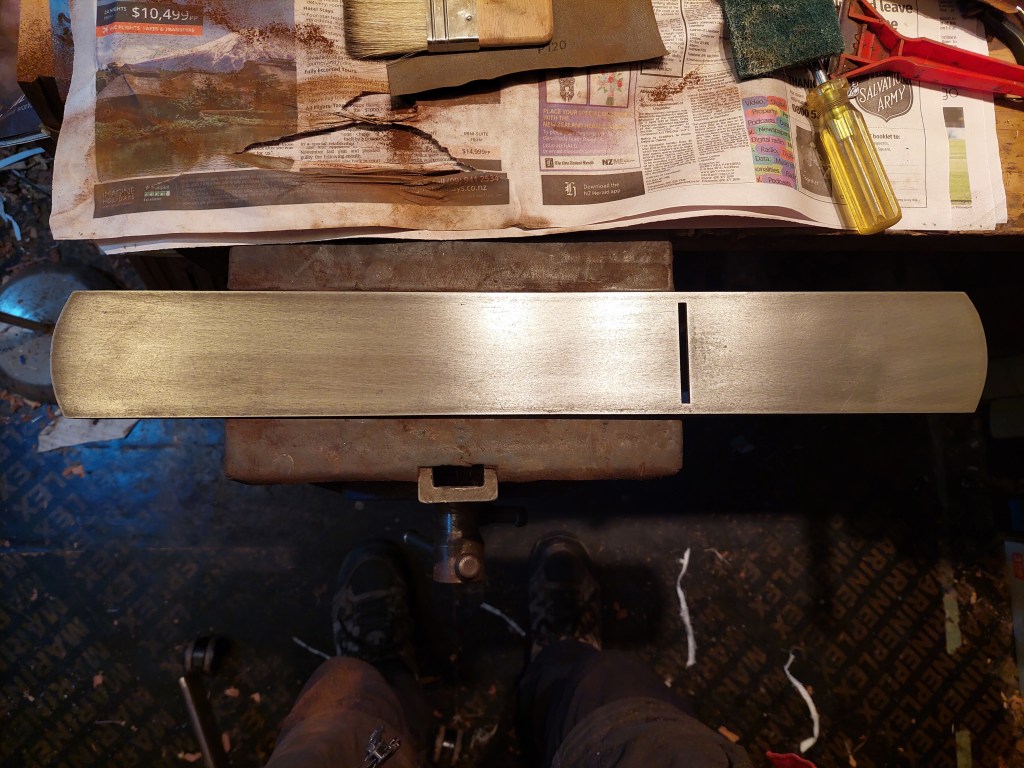
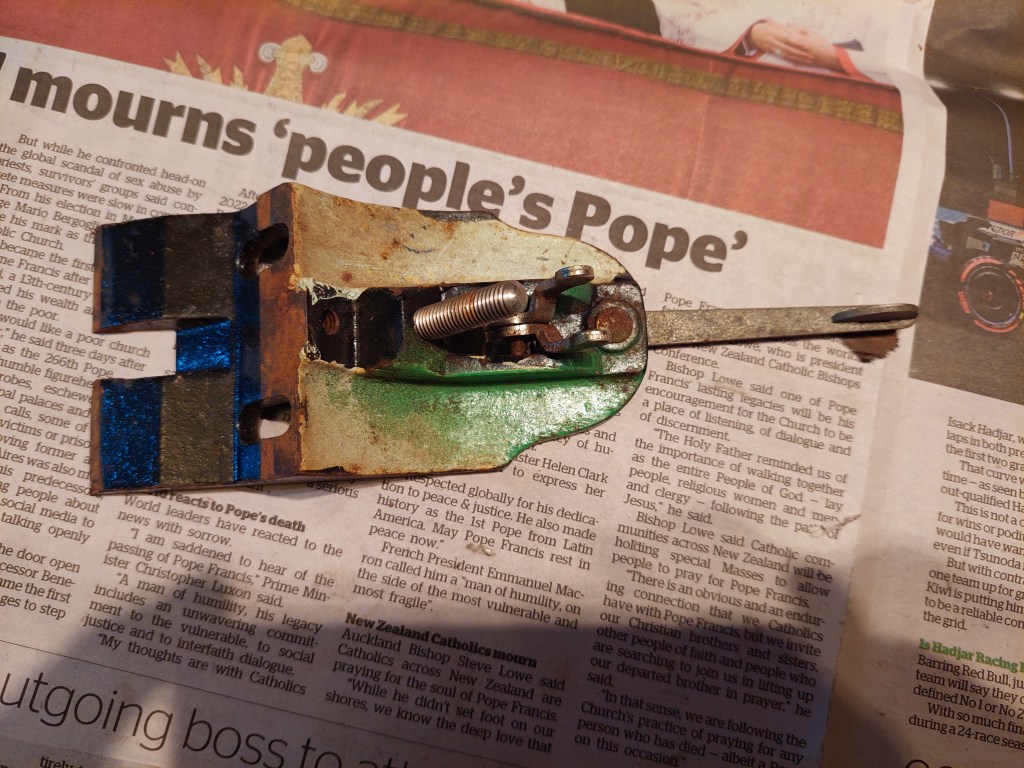
At this stage, I thought that I would have to strip the body and repaint it. I’ve done that several times, and it is quite time-consuming. So I decided to give it a go with a small, soft wire brush and methylated spirit. Methylated spirit is not as strong as acetone, so I hoped I could remove only the top layer. Why not try, after all, I have nothing to lose. I don’t know if the extra paint was kind of special (water-based? Please leave a comment if you have a theory), but this trick worked like a charm!!! Yes, it left scratches on the original black paint, but that’s a good enough result for me, given that it took me only half an hour to do that. In retrospect, next time i will try with a less aggressive brush and see if it still works.
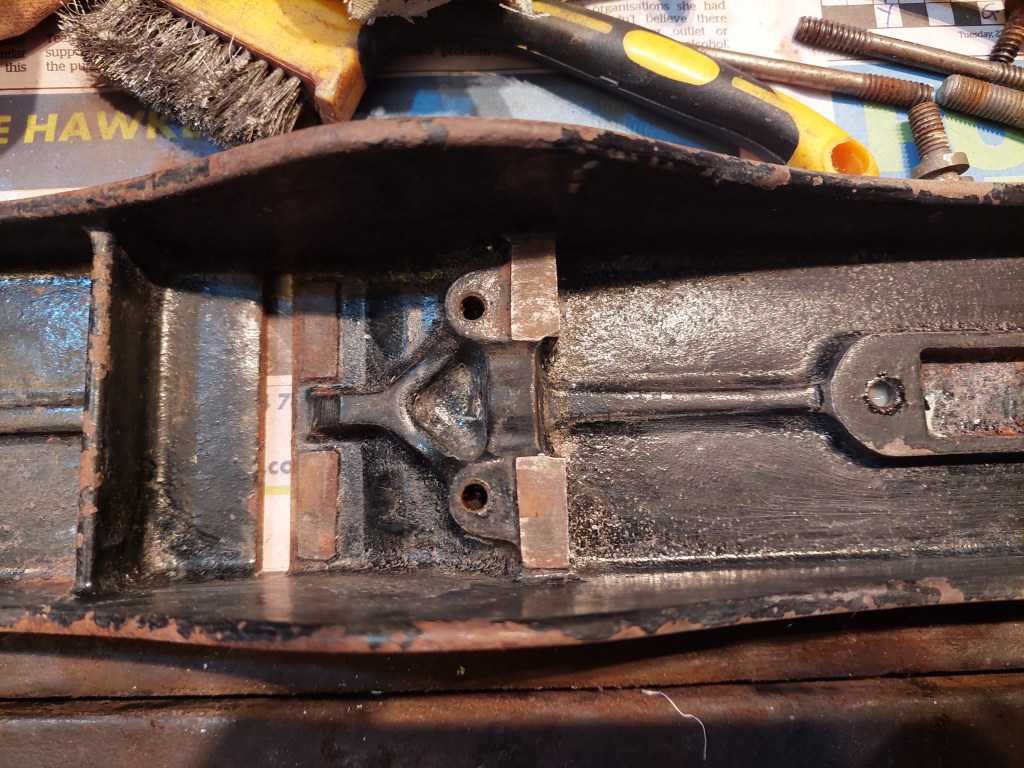

The frog was treated using the same two methods (sandpaper for rust, methylated spirit for paint). The frog was lucky enough to get a two shades of green “paint” job! :~)
Next time
Part III will be the wheelbarrow reveal and my final thoughts. I’ll try to get good pictures of the end result, and go through my mistakes and my successes.
I would like to take this opportunity to let the reader knows that i made some cool “old tools” designs on RedBubble. You can buy gallot stickers, t-shirts, … My margin is currently ZERO so the price is as low as I can control. So far I’ve “sold” 12 items, all Stanley related, weird! If you buy something, please leave a feedback.

Leave a comment