In this post i will explain how, using Linux, one can scan a box label, clean and resize the image, change the background color and create a PDF ready for printing. At the end I will show some command line tools to assemble the 4 box labels into a single PDF file (downloadable from here).
First of all, check the Linux Guide To Book Scanning , it’s a good reading on the topic.
Scanning the label
When scanning the box labels, use the “TIFF” image format, and ideally scan at 600 dpi (300 dpi could just work tho). When i scanned mine i didn’t bother too much to scan only the area of interest, the scanner produced an A4 document, which is bigger than the box itself.
Cleaning the image
I’ll be using ScanTailor for that, this is a tool for scanning books, and it does lot of magic. Check their WiKi page for instructions on how to use it. It’s quite easy to use, it took me maybe an hour to get used to it. The results are quite amazing.
In a next post, I’ll try to explain how I used it to digitalise the book that comes with the plane: Stanley Tools – “55” Plane And How To Use It. The 1921 and 1940 prints are available on the Internet Archive project (see here and here), I’m planing to upload my 1914 print there.
Post-processing the image
With Gimp, open the scanned image, and set the background color to 779954 (HTML notation). The image format need to be changed to allow colors, simply go to Image->Mode and select RGB.
We are now ready to add the green background. We’ll actually achieve that by removing the white from the image.
Go to Select->By Color, make sure Antialiasing is set in the tool options and the threshold is low (I used 15.0), now simply click on a white spot, and press the Delete key. That’s it, the background is now green.
We’re done, let’s create a nice PDF now.
Exporting to PDF
Using gimp exporting to PDF is a breeze (at least on Linux, thanks to the “PDF printer”), I’m sure that this is doable on Windows and MacOS too:
Use File->Print…, then select Print to file in the list of printers. and select PDF as the output format. In Page Setup, select A4/Landscape and in Image Settings set the correct Height (3 inches in this case), check the Ignore Page Margins and Draw Crop Marks check-boxes, and hit the Print button, voila!
Assembling all PDF files into one
They are many way to do that, I will use the pdfunite command from the Poppler project. All the commands below should be typed in a terminal (aka. console).
First, make sure you have the tool installed:
sudo apt-get install poppler-utils
And now, we’ll stick the 4 PDF files together, here is the command I used, it’s very simple:
pdfunite 1.pdf 2.pdf 3.pdf 4.pdf stanley-55-cutter-boxes-print.pdf
This assumes you’ve saved the box no. 1 label as ‘1.pdf’, and similar with the 3 other boxes. The final document will be “stanley-55-cutter-boxes-print.pdf”, and here it is:
Below are PNG version of the labels, compare them with the original ones shown on my previous post
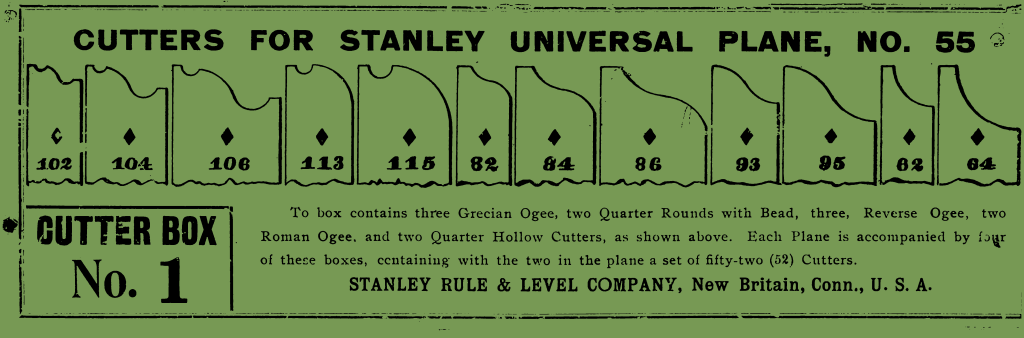
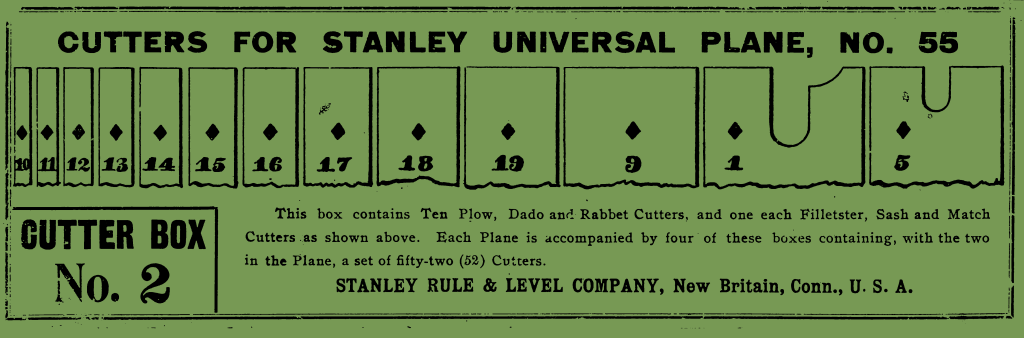
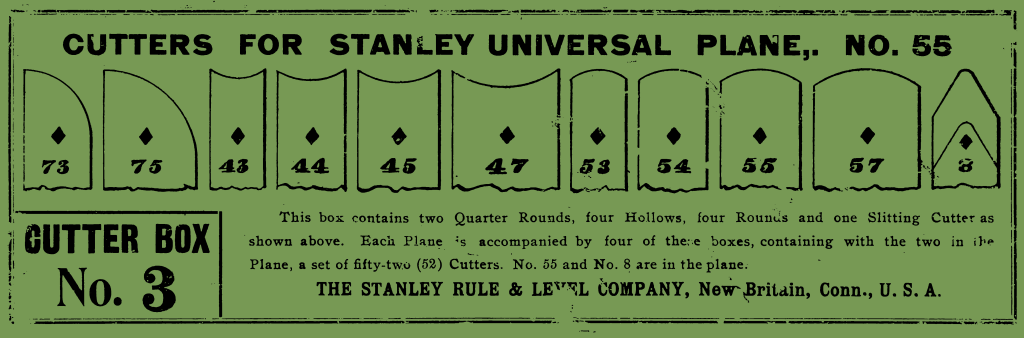
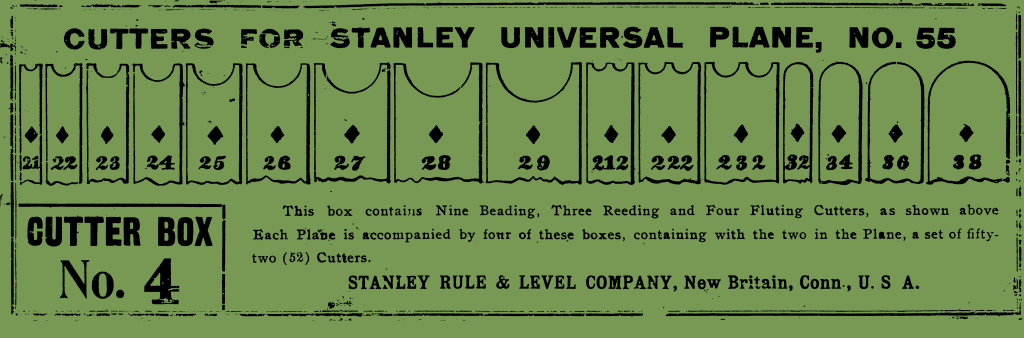
Although, not perfect, i think this is good enough for me. I like how they look new and old at the same time.

Leave a comment